Published 18 September 2016 ● Last Updated on 29 November 2016
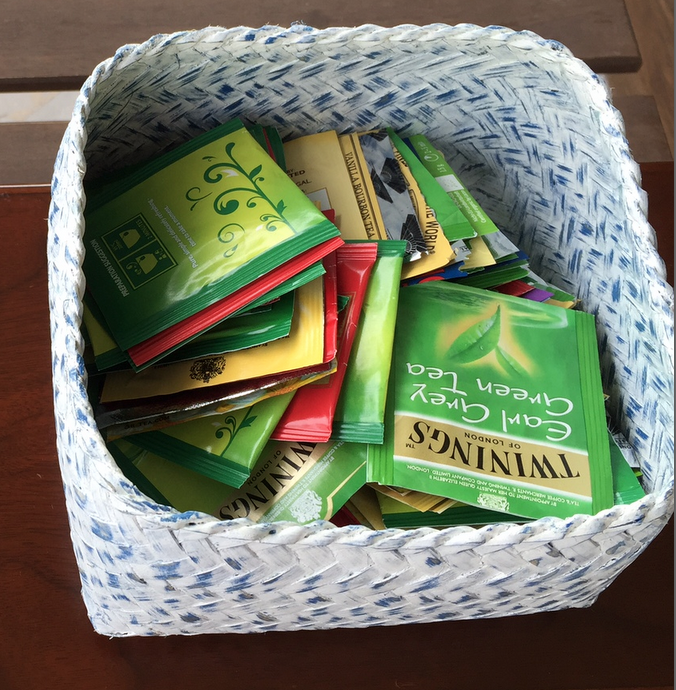
I love tea. I enjoy trying new flavours. And there are some exotics ones out there these days- my recent discoveries being Lychee White Peony by Or Tea and Coffee Mate Tea by Ette. Strangely, caffeine doesn’t bother me (not yet), so I am good with a cuppa any time of the day. My friends and family know that and as a result, I tend to have fascinating options of tea in my home at any given point in time. Every time I use a tea bag, I cut the pouch open with scissors, and save the pouch in a little box.
In trying to be a low waste home since we published the article about “Moving towards a Zero Waste home” in February 2016, I have ended up with a shelf of boxes, clothes, paper scraps, tea bag pouches and jars which are waiting to be up-cycled. I have been working on them (old Maps to magical decor pieces, cutting board upcycling) and loving the results. Heck, I even restyled two of my pre-loved dresses recently!
For the purpose of the two DIY’s here I worked with my collection of bright colorful tea bag covers. I created two simple pieces both were easy and turned out to be gorgeous.
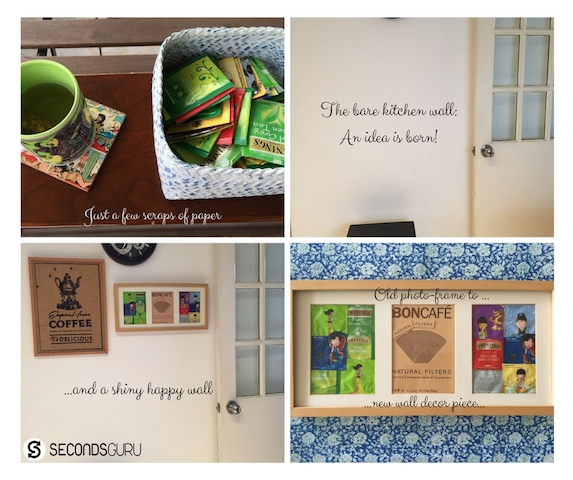
Wall Decor for the kitchen: We recently moved homes and every single time I was in the kitchen, the stark white walls were staring at me. After a quick scan of my collection of items waiting to be worked on, I decided to transform one of the photo frames – which unfortunately got damaged during the move – to a decor piece for this blank wall. There onwards, it was all about placing the tea bag covers in a pattern. Since I drink a fair bit of long black coffee too, it was unfair to leave coffee out, so I added the coffee filter cover to complete the look. The frame itself needed some bit of repairing, and I will refrain from showing the back of the wall hanging in this post :-), but let’s just say, it was rather badly damaged. I used some used cardboard and paper clips to salvage it as best as I could.
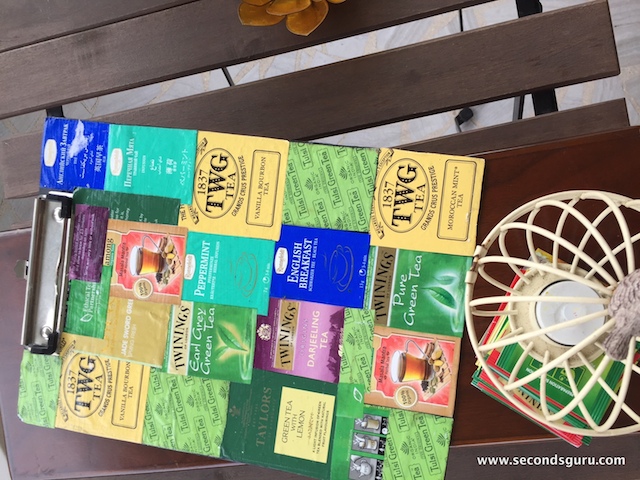
A touch of color to a boring writing board: Whether you have a home office or not, writing boards are found in almost every home. The kids bring back theirs from school, or from that art class they tried but never really enjoyed. Or you just bought one as you needed it for yourself. We had two such boards at home and I decided to try to spice one of them up with my tea bag covers.
-First I cut away the back part of the tea bag covers and evened out the edges to get perfect rectangles.
– After this, I layered a coat of Hard Coat Mod Podge on the writing board face to serve as a glue. I did 1/3 rd of the board at a time so that I had sufficient time to play around with the layout without the glue drying off. I repeated this the entire board was covered.
– I let the covered board sit and dry overnight
-The following morning, I layered the covered board with one smooth coating of the Hard Coat Mod Podge. Once again I let it sit overnight. I repeated the layering process the next morning and let it dry one more night. [ yes it’s super easy and is all about two things, a smooth even coating, and lots of patience]
– I sealed the deal with a coat of Clear Lacquer Spray and let it weather for a few days.
An Idea I have, but I am yet to execute: You can even try this writing board trick on an old wooden/ metal/plastic table or chair, and brighten it up. Give me a shout on lara@secondsguru.com if you want tips on that one!
Tip: Using the sealant is a must, as the Mod Podge by itself can make the surface sticky, particularly since you will be placing paper while writing on it. If you zoom into my board picture you will see remnants of white paper stuck on it. I learned the hard way that adding a coat of lacquer and letting it sit just for a few days gives the board a great finish and non-sticky effect. I have done that now, and the board is a dream to work with.
So the next time you are having a cup of tea, cut open the bag pouch with a pair of scissors and set aside. Once you have gathered enough, embark upon beautifying something around you. It’s effortless and at no extra cost [you had the tea anyways]!
Another related idea: If you are particular about the tea you drink, then you may like to try making this Tea Bag holder sometime. Not exactly using old tea bag pouches but love the idea all the same. I have some friends who have a discerning eye for tea and flavours of tea… you know who you are guys :-)- you must definitely own one of these so you can BYOT-Bring your own tea- when you step out!

0 Comments