Published 21 May 2017 ● Last Updated on 30 September 2020
First, a confession: I have killed. I had good intentions, but all it achieved was a road to hell for countless plants through over-watering, under-watering, over-zealousness, under-attention, and various permutations and combinations that you (since you reached here despite the headline) are probably familiar with.
Cut to present: Here’s how my garden grows! Yes, it’s finally thriving and what’s more, it comprises plants and flowers that began their journeys as mere cuttings, just a few inches long, a few years ago.
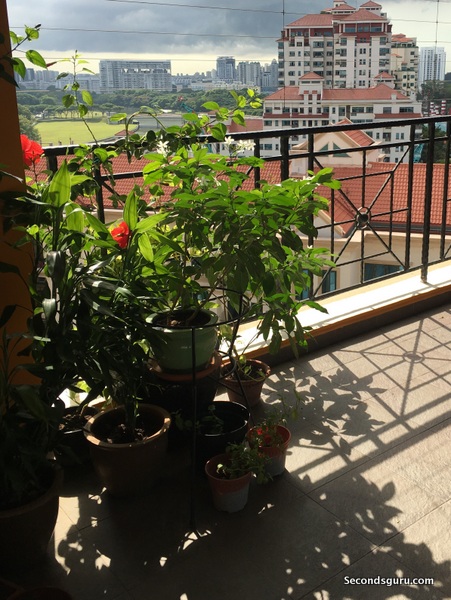
What’s my secret? Perseverance, of course. But more importantly, discovering the magic of water planting. The journey from cutting, to sapling, to a fully grown plant is tricky if you lack green thumbs. But the technique I use has a great success rate, and I’m happy to share the know-how!
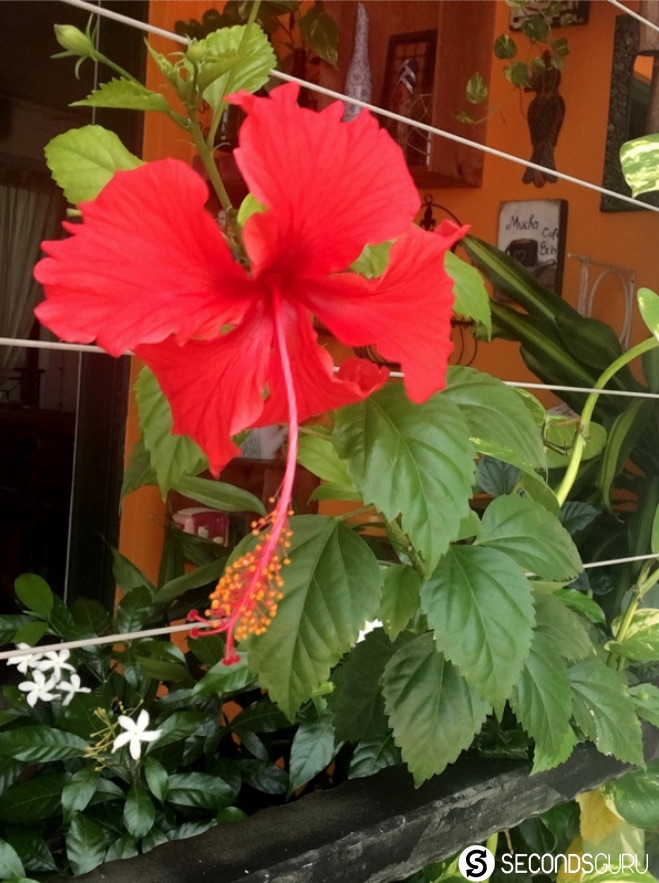
It all started when I plucked a red hibiscus growing wild outside a restaurant where we were waiting for our table. Singapore takes pruning quite seriously and I could tell this bush would be getting a haircut in the near future (at least that’s what I told myself to escape guilt as a cut out I long stem with my also-long fingernail). What happened after forms the basis of how I garden today – I have used this technique successfully for bamboo, money plants, jasmine, all herbs, and of course, the hibiscus.
Here’s how it goes:
Step 1: Taking a cutting
Taking a cutting is a standard procedure, and my suggestion is what is commonly accepted: snip diagonally at the stem. Since you will be using the cutting to propagate new plants, the stem must be green i.e. not woody hard. The length should be so long as to let the plant stand comfortably in your container with its head standing out. Prefer a sharp scissor over a blunt instrument and try to get a clean cut.
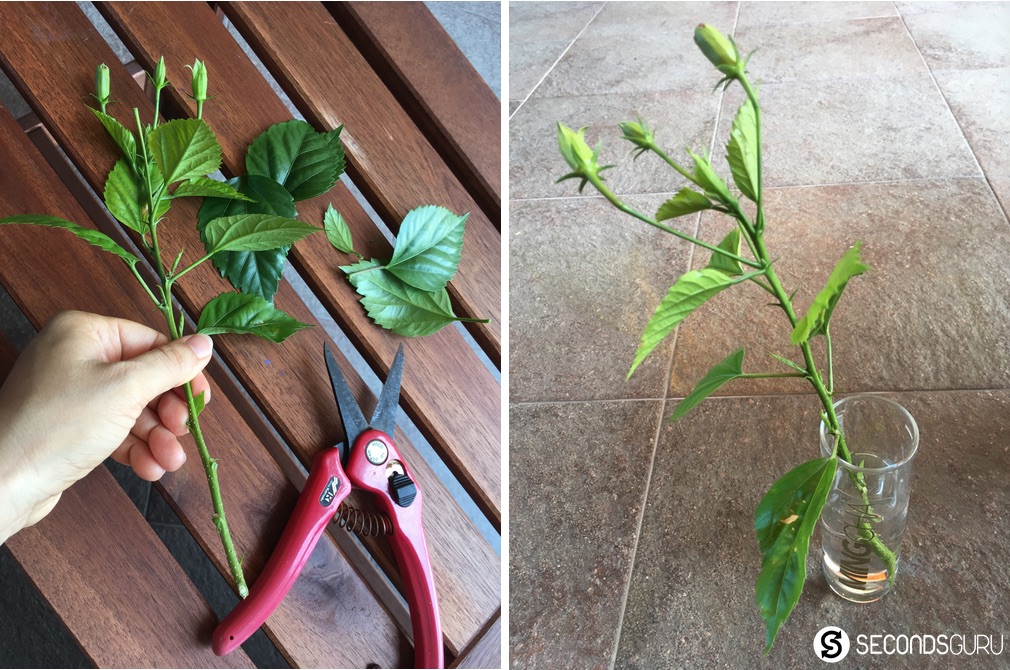
Step 2: Homing the cutting
When I got my hibiscus home, the ignorant me had expected to plonk it in soil and hope for the best. But the cautious me had googled about transplanting hibiscus techniques, and found all the search results extremely complicated and not worth the trouble. So I gave up and plonked the stem in a glass of tapwater and forgot all about it for a month.
That’s exactly what I suggest you do. Take a glass – or a transparent or semi-transparent glass container (opaque containers such as ceramic have failed for me many times). Add tapwater, And put in the cutting. Then leave it alone in an area that has natural light – such as near a window, or a well-lit part of a room, or a balcony spot. However, don’t pick a spot where the cutting will be subjected to long hours of direct sunlight.
Over the next few days, monitor the cutting for signs of distress. This is true especially for herbs – if they start getting droopy, move them to a shadier / cooler part of the house.
Step 3: Rooting for growth
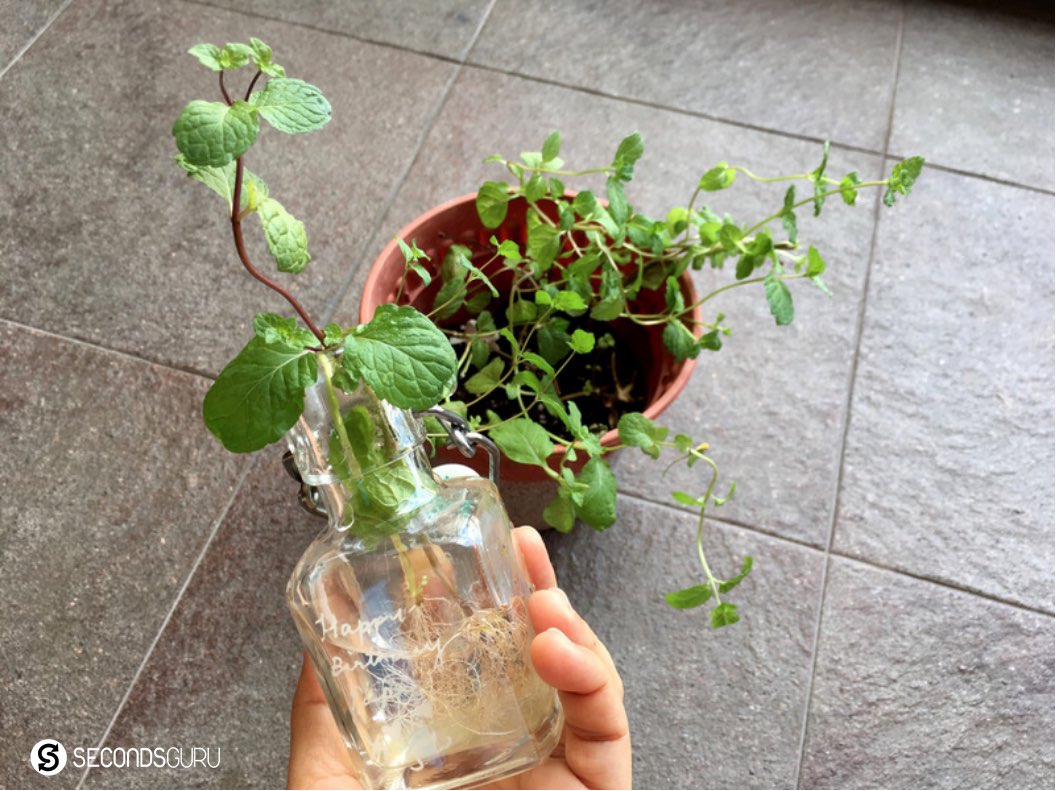
After a week or two, you will notice that the water-dipped part of the stem has started to develop nodes. Eventually these nodes will develop roots.

There is nothing you need to do at this point except refresh the water once a week. I don’t just top-up – I actually change the water completely (very long-standing water can end up in mosquitoes, as well as a greenish algae growth). Tapwater -or at least Singapore’s tapwater- can keep cuttings alive for a long, long time! I have never needed to add nutrients, though I have read of hydroponic nutrients available at nurseries. You can try these if you want to develop the plant fully in water alone (i.e. not put it into soil later).
My original hibiscus cutting – the one that had surprised me by growing roots while I had abandoned it – lived in water for a long time, and even budded once. But the flower was bleak and small, and it finally bloomed well only in soil (where it bloom still!)
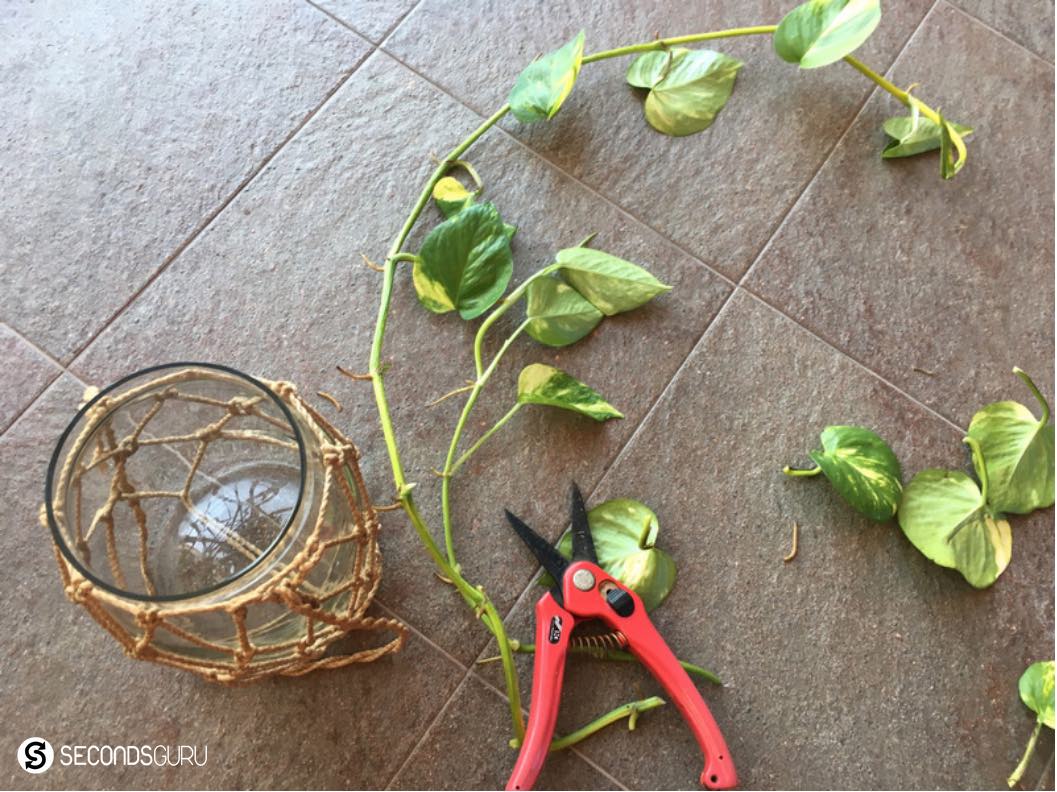
Other plants – like moneyplants – don’t need soil; they will happily flourish in water for years. If their roots start to overwhelm the jar size, you can prune the roots. Start by cutting out any rotting or hardening roots – however limit your enthusiasm and restrict cuts to 1/3 of the root mass (else you can injure the plant). If the plant starts showing signs of distress after a long life, you can try to invigorate it by potting in soil.
Likewise, bamboo cuttings will last long in water. I had store-bought stalks that stayed with me for years, then inexplicably started to yellow out from base, working their dryness upwards. If you know how to rescue a yellowing bamboo – please let know how by a comment below! Else do what I do – create a cutting by snipping above the yellow stalk – and enjoy a new, albeit shorter bamboo.
Step 3: Potting the sapling
Once the roots are long and fill up the cavity of your bottle, the sapling is ready for potting. There’s no hurry to this process – it’s just that the plant’s growth is limited by water (due to few nutrients) and bottle size (restricted root space). The filled-up roots are a signal that the plant is healthy and sturdy and will take to soil easily. You will see a growth spurt once the plant is potted.
I usually purchase soil at NTUC after reading the description (keep it simple – steer away from cactus soil, pick up the horticulture mix). Choose a pot size that gives room for the sapling to grow out; choose a pot type that allows for drainage.
Fill the pot with soil leaving a comfortable margin at top. Dig a comfortable hole for the roots plus 1 cm of stem (or as much stem in soil as necessary to keep the plant unsupported). Add back soil to let the plant stand up, and then some water.
The plant is more resilient now – you can move it to a brighter location if needed. Flowering plants definitely need the sun, so choose location accordingly.
Step 4: Upkeep
Now that your plant is potted, all you need is to ensure enough water and nutrients over time. The rule of thumb on watering is to check the soil – water when dry, or if the leaves are obviously drooping in dehydration. Don’t drown the poor thing with enthusiasm!
Flowering plants love coffee – it is the best fertiliser you could ask for. If you prepare coffee at home, don’t throw out the spent grind. Dry it out first, then mix with soil. 1 tsp per pot, once a month, is enough to energise my jasmine and hibiscuses (use the fertilising opportunity to turn the soil lightly at the same time). I also prune them now and then to avoid growing single long stalks – cuts on the stem cajoles them to branch out.
To ensure your herbs live a long life, you must keep them from flowering – simply nip the buds. If the flowers are allowed to bloom, or worse, to dry out naturally after blooming (that’s how they seed) – the herb will die out. This holds particularly true for basil.
Also for herbs, remember they have a short life compared to other plants. Pluck their leaves for cooking (basil on pasta, tulsi aka Indian holy basil for tea, mint in yogurt, etc) to ensure the plant keeps regenerating; also prune now and then. Create fresh cuttings at the first signs of distress.
Step 5: Enjoy
Success is addictive, and once you’ve managed to generate a bud, I bet you won’t stop at one. I started with one hibiscus, and gained disproportionate optimism from the experience. When I graduated to Jasmine, I had no reason to believe the process would work, and Google search frankly disbelieved, yet they flower on. Thanks to these efforts, I have sunbirds for company ever so often, and still experiment with different flowers. Let me know what cuttings you try and do leave a comment to let me know!
BONUS unsolicited advice
How to get rid of whiteflies
While mostly I can blame myself for the death of my plants in the early years, there have been instances where I squarely blame the whiteflies. If you are a plant-lover in Singapore, you probably know what I am talking about – a teensy white insect that at first glance appears like cloudy mold collecting under leaves. Only as you touch the “mold”, and the collection of whiteflies recoils from touch, do you realise the infestation and numbers that have attacked your garden. I lost a large collection of Yellow Oleanders to whiteflies – and the speed at which their population grew to suck the flowers to death was bewildering. If you find these bugs in your plants – act fast with my solution:
You will need
– 200 ml of water
– 2-3 garlic cloves
– 3 squirts/tablespoons of dishwashing liquid, preferably not antibacterial
– An empty spray bottle
– Track of I will survive by Gloria Gaynor (optional)
Boil water with the garlic cloves. Let cool and pour in the spray bottle. Add the dishwash liquid [I used ETL No. 9 as I didn’t want to add harmful chemicals that contaminate the soil]. When stirring the dishwashing liquid into the water solution, try to minimise bubbles – don’t shake up the bottle. Cue the music track and spray the solution over infected leaves – take special care to spray under-leaf where the bugs congregate.
Repeat the spray every 2-3 days till the infestation disappears. Extra spray solution can be stored for months.
Related Posts:
Green Warriors: Anupriya Agarwal’s edible garden, in a Singapore balcony!


Nidhi Saxena
23 May 2017Thanks for the lovely tips, Anuja! The initial story you’ve narrated is exactly where I stand today…. guilty of killing so many plants… ? Being a huge fan of gardening, I had sort of given up on it after murdering some of my favourite plants. Your post has given me some hope and I’ll start afresh sooner.
Thanks,
Nidhi
Anuja Byotra
23 May 2017Thanks for dropping by Nidhi. Yes, please don’t give up hope – If I can garden, anyone can 🙂 Do keep me posted on how your experiments turn out!