Published 21 December 2015 ● Last Updated on 8 October 2020
In September 2015, Secondsguru launched the #Under50Dollars Challenge, our creative twist to #SG50, to commemorate the 50th birth-year of Singapore. It was devised for our readers to appreciate the inherent value of things used and old. If you have a good eye, enjoy upcycling… and have some dollars in the pocket, you too can join in and take up the challenge!
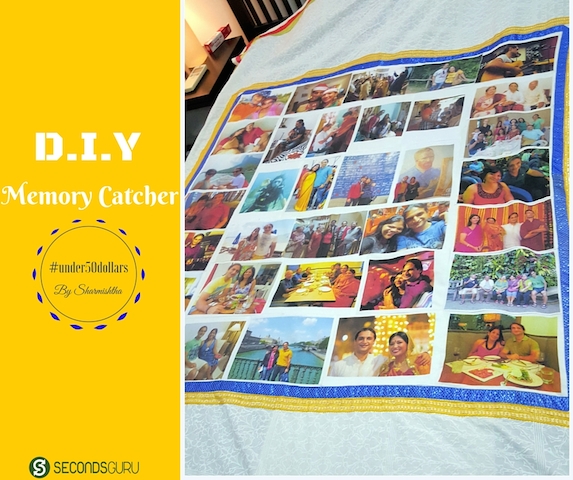
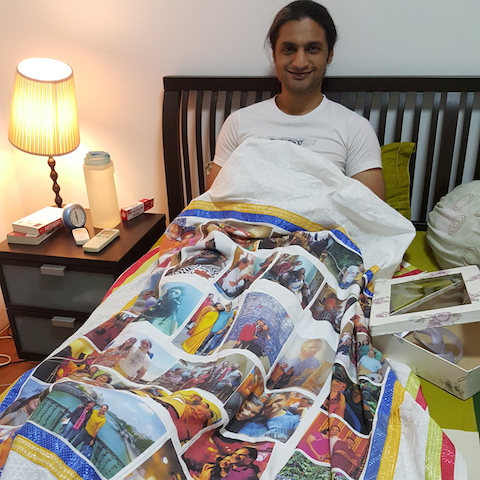
We are loving the enthusiasm our readers have shown. Kudos to recycling, reusing and reducing waste! Glad to see so many responsible individuals joining us in our small attempt to make a difference :-). The latest entry comes from Sharmishtha Dasgupta who lives in Singapore. As she writes, she created this memory quilt for her husbands 40th B’day by upcycling t-shirts and an old bed sheet! She spent just under 50$ to complete her project! Read her story to know how tough it really was to stick to the budget.
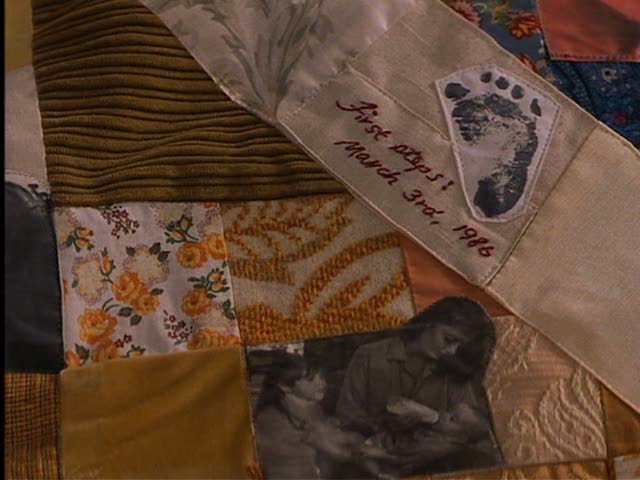
I learnt about memory quilts from the movie, Stepmom where Susan Sarandon gifts this beautiful quilt to her daughter which she had made using old pictures, fabrics and memorabilia. The idea seemed super cool and I have been subconsciously thinking about making something similar.
Of course using old sarees to make a quilt is very common in East India, especially West Bengal and Odisha. That’s the humble origin of the exquisite and much sought after handicraft of “kantha” embroidered products. So recycling old fabrics to make a quilt made perfect sense to me and the additional element of incorporating memories through photos gave another interesting dimension. However, being in a relatively unfamiliar terrain and in a country which is not exactly known for cheap products or services, the task seemed quite daunting. I sat on the idea for ages and dreamt about doing this one fine day when I go back to India.
Until I came across the Secondsguru #under50dollars challenge which I wanted to take up. My husband’s 40th Birthday was around the corner and I really wanted to do something different for this milestone of his life. So both these factors inspired me finally to get off my ass and set things in motion for a challenging but thoroughly fulfilling project- a photo memory quilt using old fabrics and within the budget of 50 dollars!
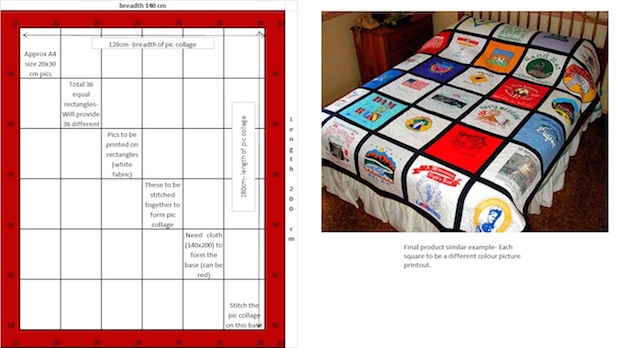
The starting point was to make a rough sketch of what I wanted to create and the approximate dimensions of the same. I downloaded a picture from the net to illustrate as an example of the finished product when I started discussing the project with others.
The next step was to find old recyclable fabric for printing the photos. If you are making a small blanket for a child- a great idea is to use pieces from many of his/her favourite clothes through the years. I didn’t have too many of my husband’s childhood stuff here in Singapore. So any old cloth would do but I used cotton t-shirts which I found more easily; specifically plain white ones. You can use coloured ones too but I realised the cost of digital printing (photos) on colour fabric is almost 3 times that of printing on white fabric! So I did a quick mental math and adapted the idea to keep within the under50dollars theme. I collected about 16 white t-shirts and cut out the fabric from the back and the front into 32 squares.
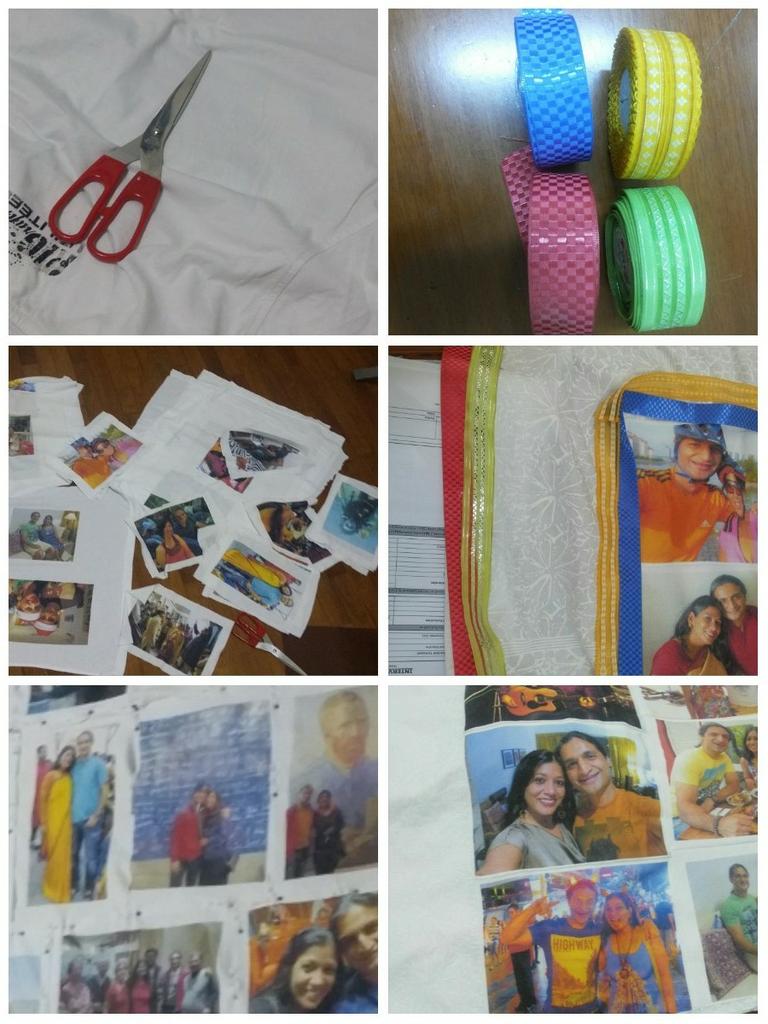
The most fun part was selecting the memories to go on the quilt. I had a great time sifting through pictures of my husband and of the both of us when I was working on my long list and then eventually the short list. That done, the main challenge was finding an outlet or supplier which could do good quality printing of photos on fabric at a low cost. After many attempts I finally found an excellent printer in Jakarta who helped me do the project at roughly 1$ per picture printed which was a steal! They also have an office in Singapore though the cost of printing is quite different here. Check out their website- www.custom.sg.
Once I got all the printed squares, I put together the jigsaw puzzle of pictures in no particular order on a base using dressmaker pins. For the base material of the quilt, I used a lovely old white cotton tablecloth that I had used well. As a result, it had a few stubborn stains which refused to vanish despite multiple bleaching efforts. The patchwork of pictures on top camouflaged the discoloured spots perfectly!
And the final step was to buy a few ribbons to embellish and a tailor to do the stitching of the jigsaw puzzle. Again, I lucked out by finding a very talented tailor through a colleague in Jakarta who understood the project and executed it to perfection at a fraction of the cost in Singapore.
I barely managed to stay within the under50dollars challenge budget :-). The cost of the full finished product was:
| Cost of Digital printing of 32 photos on fabric | $32 |
| Cost of Stitching | $16 |
| Cost of ribbons, pins etc | $1.5 |
| Total cost of recycling | $49.5 |
Thanks to Secondsguru for the inspiration to finally execute this idea. The look on my husband’s face when he saw his birthday gift was just priceless!
-Sharmishtha
Sharmishtha is a marketing professional based in Singapore. She has worked previously as a brand and business strategy consultant. Apart from brands, her passion is food, cooking, traveling and reading. These days she has adopted a paleo lifestyle and loves to explore healthier cooking styles.


0 Comments