Published 1 May 2017 ● Last Updated on 30 September 2020
I must confess – I love buying shoes. My closet isn’t enormous by a regular girl’s standards, but yes, it is rather full, and has the standard pumps/flats for work, and dressy stilettos/strappies for outside, and a few sneakers/sandals for comfort, and a couple of boots for a cold day, and some handcrafted finds from India… as I said, a regular girl’s closet!
I’m not a big spender however, and am always looking for deals, so the end result is I buy shoes that are not very expensive but will last me a few seasons (depending on how much I love them and wear them). I also have a hard time throwing away shoes. Or clothes. Or broken jewelry. Or cosmetics. You get the drift!
So what do you do with a cheap pair of over-worn shoes, now looking scuffed and faded enough to not be worn outside of a local grocery store visit or yoga class, but still in decent shape to not be thrown away (besides the fact that I can’t bring myself to give them away….just yet)?
You give them a makeover!!!

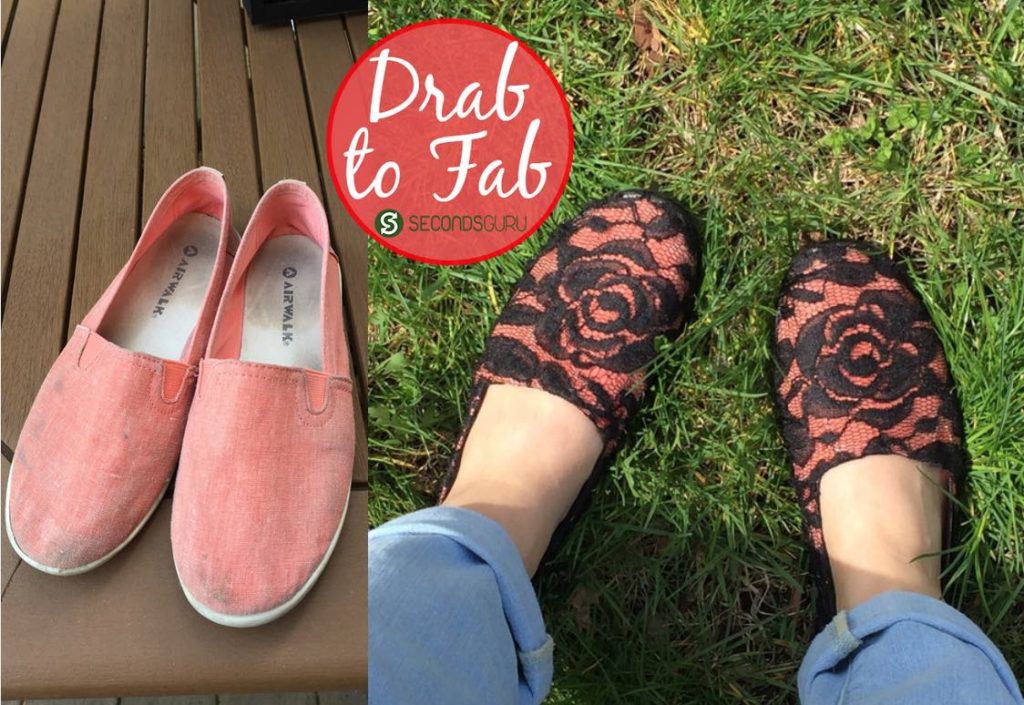
Case in point: I bought a pair of orange slip-on shoes about 2 years ago and they cost me less than $15. Since I could pair it with a lot of outfits, I wore them quite often. The material was canvas, so every time they got dirty, I would wash them. By year 2, the colour was fading and there were some marks that didn’t go away with washing either. In an earlier life, I may have thrown them at this point – but after my Secondsguru – Under50$ challenge experience, I knew I could make them last longer! So looked around for ideas to upcycle and reuse – Tada! A vintage makeover idea took me over. Luckily, my sneakers weren’t torn and still comfortable enough so now I planned a list for DIY materials.
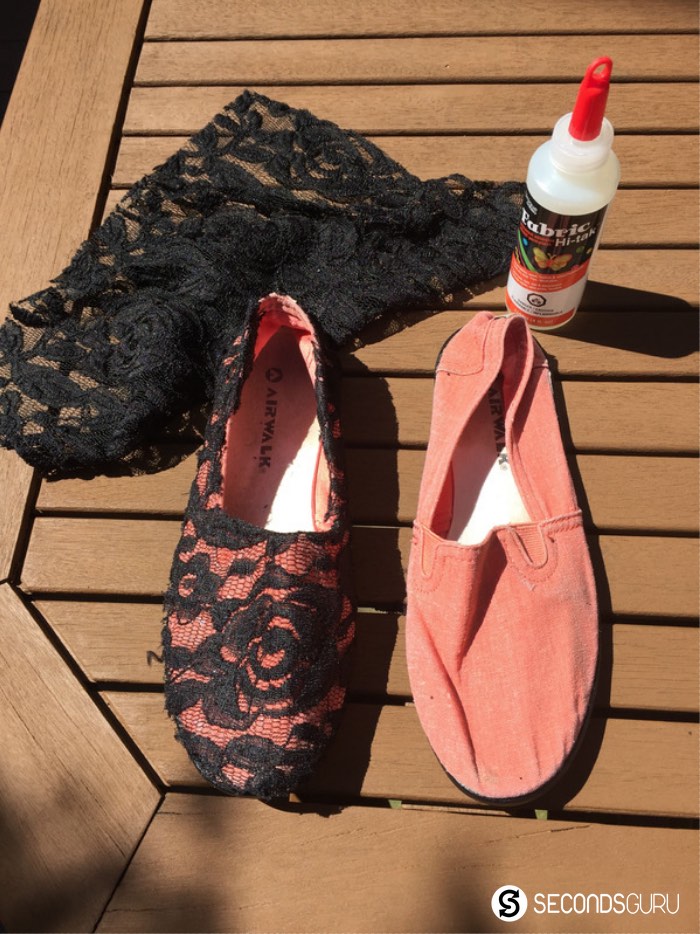
While I liked the orange colour, I wasn’t very sure about the white bottom as it would get dirty quite fast. I washed the shoes one last time, and once they were completely dried, I painted the outsole black using the acrylic paint. (I already had acrylic paint which could be used on multiple surfaces and fabric glue.)
Next, I bought a black lace cloth (a small piece from a local fabric store) for less than $3. Once the paint dried, I put the lace cloth on the shoe, making sure the pattern was consistent on both the shoes. Instead of cutting pieces and putting them on the shoe, I used one piece of cloth and cut out pieces where needed. I left the cloth a little longer on the sides so that I could cut them to the right size and shape once I was done. The additional cloth on the tongue and closer to the insole of the shoe could just be glued on the inside. This gave it a neater look since cut lace edges can look frayed.

Once done, I cut away the additional cloth and painted the inside of the shoe border black so that the glued on lace looked consistent and neat.
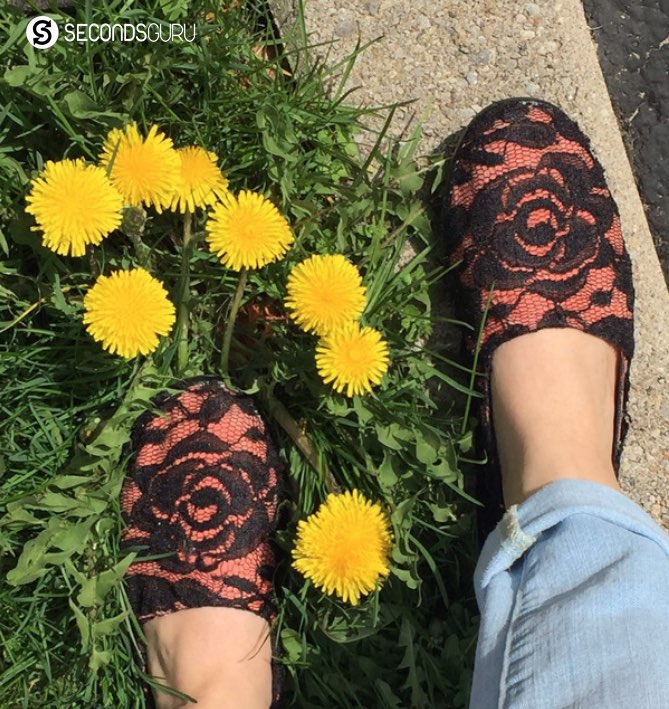
And now, by investing $3, I have a new pair of vintage looking slip on shoes to be used for another couple of years!

Related Posts:
Soul as Sole | Jazz up your shoes
A merchandise bag transforms into a sling tote
– Aashyita Nanda
Aashyita is a talent acquisition specialist based in Toronto who loves reading mysteries in her spare time. She is a foodie, can cook if given directions and is a fabulous sous-chef!


0 Comments