Published 25 September 2016 ● Last Updated on 25 November 2016
Every quarter, Secondsguru sits together with the Piggy Bank Club – a very serious, focused brigade of little kids – to talk about recycling over a craft activity. We talk about ways to be green in our day today life – easy but impact-ful stuff like separating recyclables, or, how to best dry up after washing hands [inspiration here]. Then we do the most looked-forward-to segment, fashioning piggy banks out of trash which the children use to save for charity over the next 3 months. It’s fun, educational, busy, fun, easy, and … did I mention fun already?!
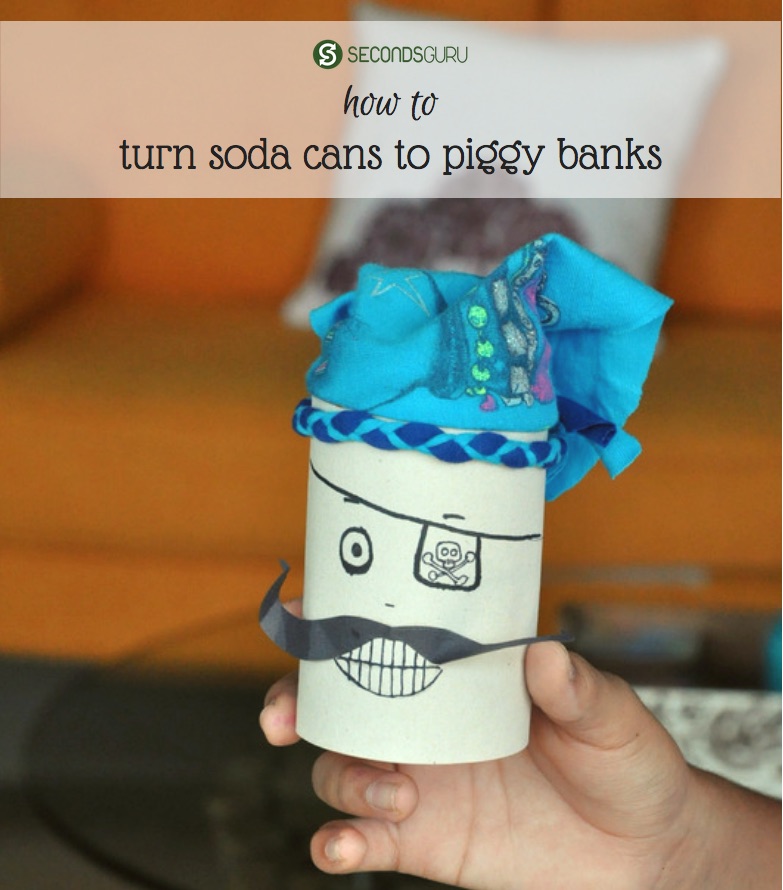
Our latest creations were so adorable that we simply had to share the DIY; we are certain you can’t resist making them, especially after seeing pix of these adorable pirates and hula girls! If you don’t need a piggy bank, you can use this guide to create a pen stand instead.
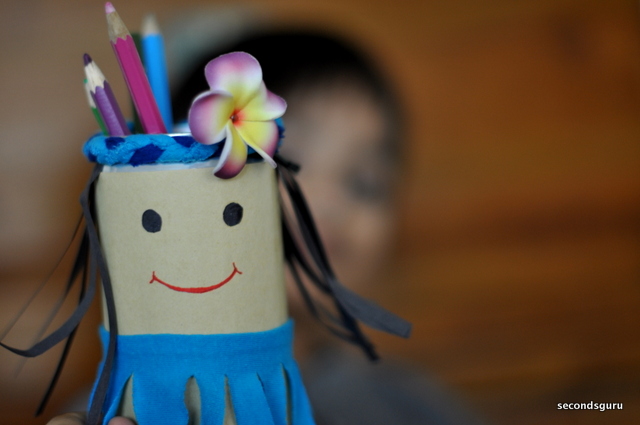
You will need:
– 1 Soda can, rinsed clean
– Washi tape or masking tape
– Colored paper – skin tone and black
– Double sided tape, or glue
– Sketch pens / markers
– An old piece of clothing [or a selection]
– Flower clip [optional]
Step 1: Prep the soda can
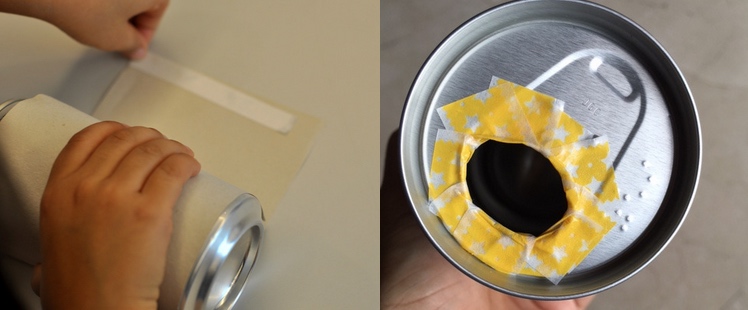
Ensure the can is clean and dry, then pull out the tab. The hole on top is perfectly sized to accept coins (at least, it accepts all Singapore coins). Cover the hole with masking tape to ensure kids can handle it safely. If you are looking to make a pen stand instead, use a can opener to cleanly cut off the can top. Again, cover with tape to ensure safety from cuts.
Now cut paper to size and roll over to snugly fit over the can.
Step 2: Preparing the accessories
If you have kids in the house, then you definitely have old clothes lying around that are too stained to pass forward! Put them to use here.
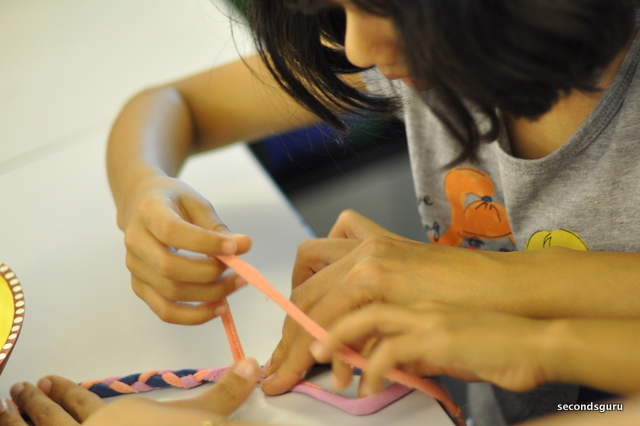
a. Both the pirate and the hula girl need a braid. To create, cut out 3 strips – about 1.5cm wide, all equally long, and (preferably) one strip with contrasting colour. Ensure your strips are long enough, as they may yield a shorter braid than the strip-length. Braid them together in a long plait, with strong knots on each end.
b. For the pirate’s bandana, cut out a triangle of 30 cm base and 15 cm height. These measurements fit comfortably over a standard soda can.
c. For the hula girl’s skirt, cut a long rectangular strip – 30cm by 5 cm to fit a standard drink can. Snip lines along length of the skirt, stopping 1 cm short of the edge.
d. For the hula girl’s hair, cut out strips of black paper and stick to the sides of the can. Alternately, (just like the skirt earlier) cut a rectangle of black paper and snip strands upwards, without cutting all the way to the edge.
e. For the pirate’s moustache, cut an 11cm long rectangle out of the black paper. Fold over and draw half a thick, fancy moustache. Cut out the moustache while retaining the fold to get perfect symmetry.
Step 3: Dress it up
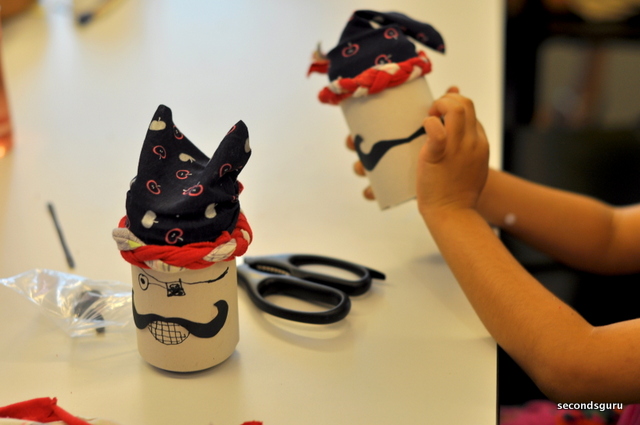
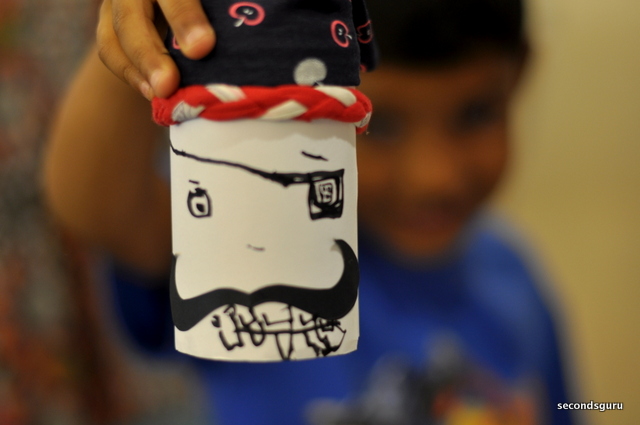
Put all the elements together. The pirate first gets the bandana and then the braid for a flawless finish. There is no need for glue – just tie tightly. Stick on the moustache. If you secure the moustache by sticking just the centre part, it’ll look even flashier!
The hula girl will need her skirt first (simply tie around the can, mid way). Then stick on her hair and then tie the braid.
Step 4: Final touches
Now is the time for flourishes! If you have secretly stashed craft eyes, use them. If you have a flower clip, give it to the hula girl. Else simply pick out your markers and sketchpens to draw out the features. We loved the roguish smiles (and millions of teeth) our club kids added to the pirates!
Step 5: (Most important!) The disposal
When it’s time to get rid of the piggy bank – do not trash it! Separate the materials [paper / cloth / can]. Paper and cans can go for recycling. Cloth scraps can be washed and used for cushion stuffing, and the braid / bandana can be reused as a doll’s accessories! But if you really cannot reuse the cloth – only then throw it in the dustbin.
If you try this craft, do share the pictures on our Facebook page!

0 Comments