Published 6 March 2016 ● Last Updated on 28 November 2017
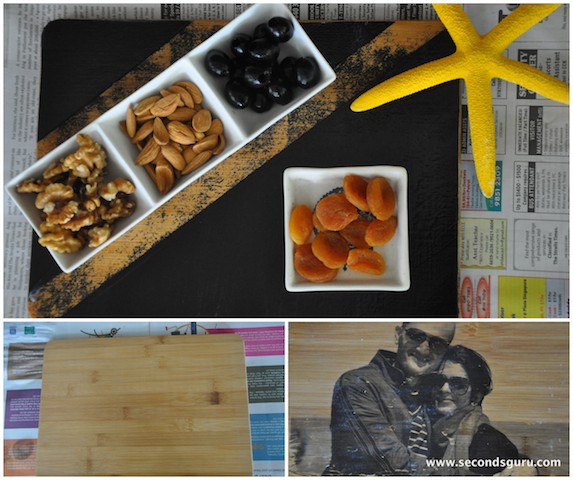
In my previous avatar i.e. my life prior to Secondsguru, I used to spend hours looking at video tutorials and reading blogs on magical DIY transformations that seemingly regular people do and thought I could do them too. The result– bottles and bottles of decoupage mediums, spray paints of various colors, lacquer in spray and liquid versions, acrylic paints of all shapes and sizes, ah well there’s more, but I will stop here. The reality– I never did anything with these items, other than hoarding them!
The story is entirely different (the increasingly crafty me) since the latter part of 2014! In any case, it was one such shelf of seemingly unnecessary art and craft supplies that prompted me to think of creating something out of the much used and very worn out wooden cutting boards in our kitchen. While researching on ways to upcycle these cutting boards on the much-loved website- Pinterest– I came across two ideas which had been done plenty of times but appeared too pretty to be doable by someone as non-crafty as me. And then, just like that, I decided to give it a try!
Transformation #1: Transferring photo on the board
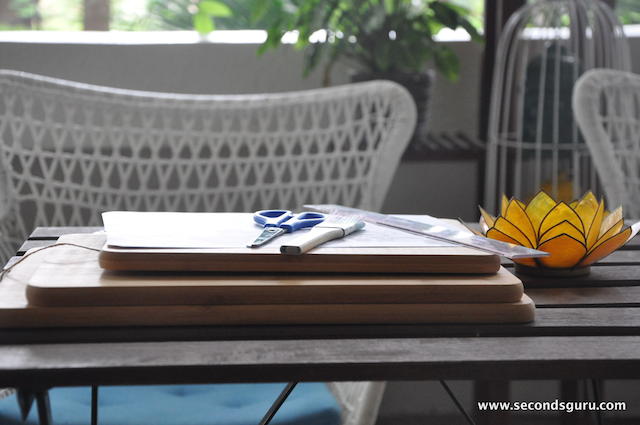
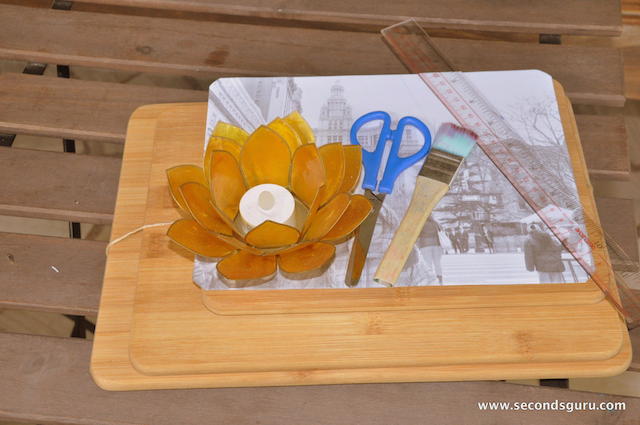
You will need:
a photo
a board
Mod Podge [buy it at Art Friend, or order online on qoo10]
a piece of scrap cloth
a brush to apply the Mod Podge
1. The Photo: At the outset I have to admit that I misunderstood the instructions and ended up spending 5dollars getting the photograph printed on photo paper. What you really need is to print the photo on the printer (I used my laser jet printer) at home on a regular (read cheapest) A4 paper. That was a mini boo boo moment for me :-)!
2. The board- Just clean it with a damp cloth and slightly sand it if needed. Set it aside.
3.Mod Podge: Guess what? All the hullabalo about this decoupage medium is entirely worth it. Apply a generous coat of Modge podge on the board and place the photograph face down on it. (The blank side of the paper will be on top.)
4. Smoothen out the photo with the edge of a credit card so that there are no bubbles left and the transfer is not patchy. Set aside overnight.
5. Next morning, wet the cloth with lots of water and place on the paper for about 5 mins or until till it’s entirely wet.
6. Scrape out the wet paper with this cloth slowly and gently. The image underneath will start showing gradually. You will need to repeat this process 3-4 times. After that, let it dry for 5 mins.
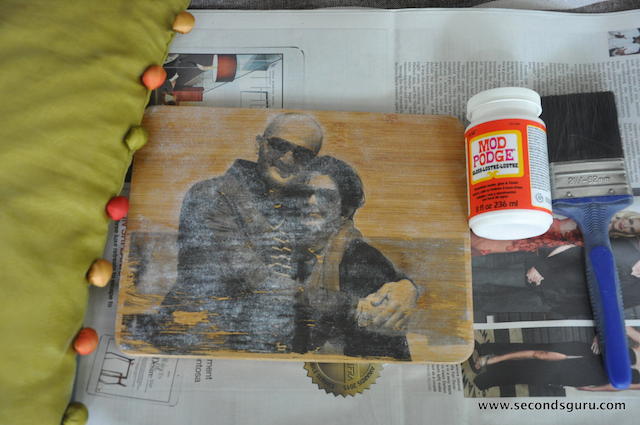
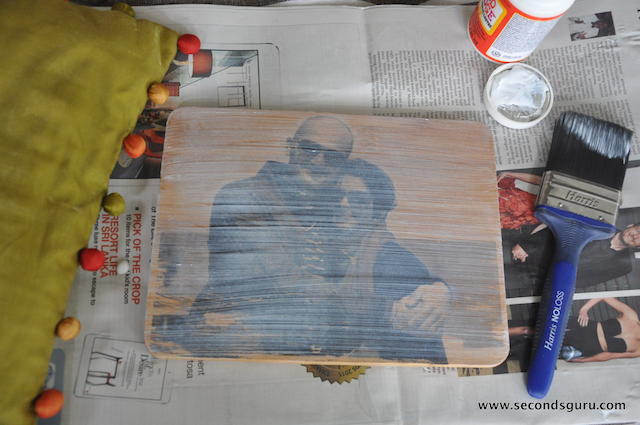
7. After it’s dry, the board will have the image on it with lots of white paper bits too- look below to see what it will look like now. Honestly, I was sure I had make a mistake!
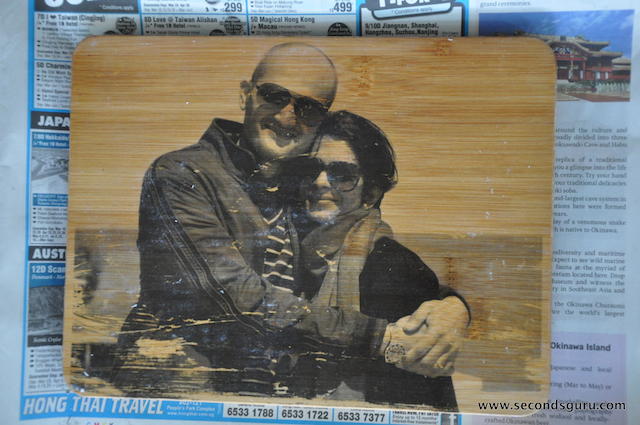
8. But I did not give up. I just went ahead and applied another generous coating of Mod Podge with a brush. Set aside for 1 hr. VOILA!
Key learning: Do not use cloth to clean the paper bits after the first time, it will scrape the picture off too. I love the final look, but it could have been better.
Transformation #2: Making a serving platter using chalkboard paint
This was an easier one. I had black chalk board paint leftover from Earthfest where Secondsguru organized a book Swap.
What you need:
a wooden board
chalkboard paint
masking tape
scissors
brush
Mod Podge [buy it at Art Friend, or order online on qoo10]
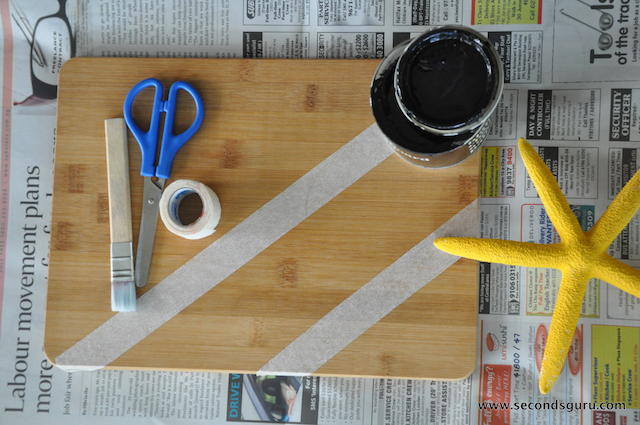
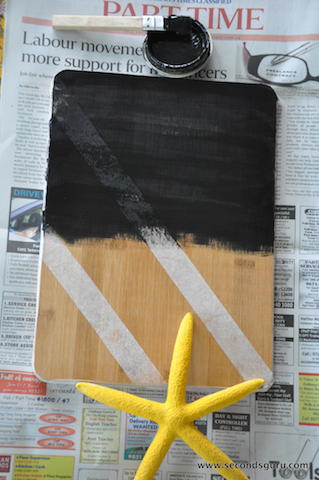
1. Masking Tape: In order to give some character to the serving platter, I used making tape and created patterns on the board. As this was my first attempt I was overly cautious I think, next time I will make the design on the platter way more funky! I also used the tape to block out the sides of the board so that there was no spillage on to the edges.
2. Once your pattern is done, apply 2 coats of chalk board paint on the board. And let it dry for 2 hours.
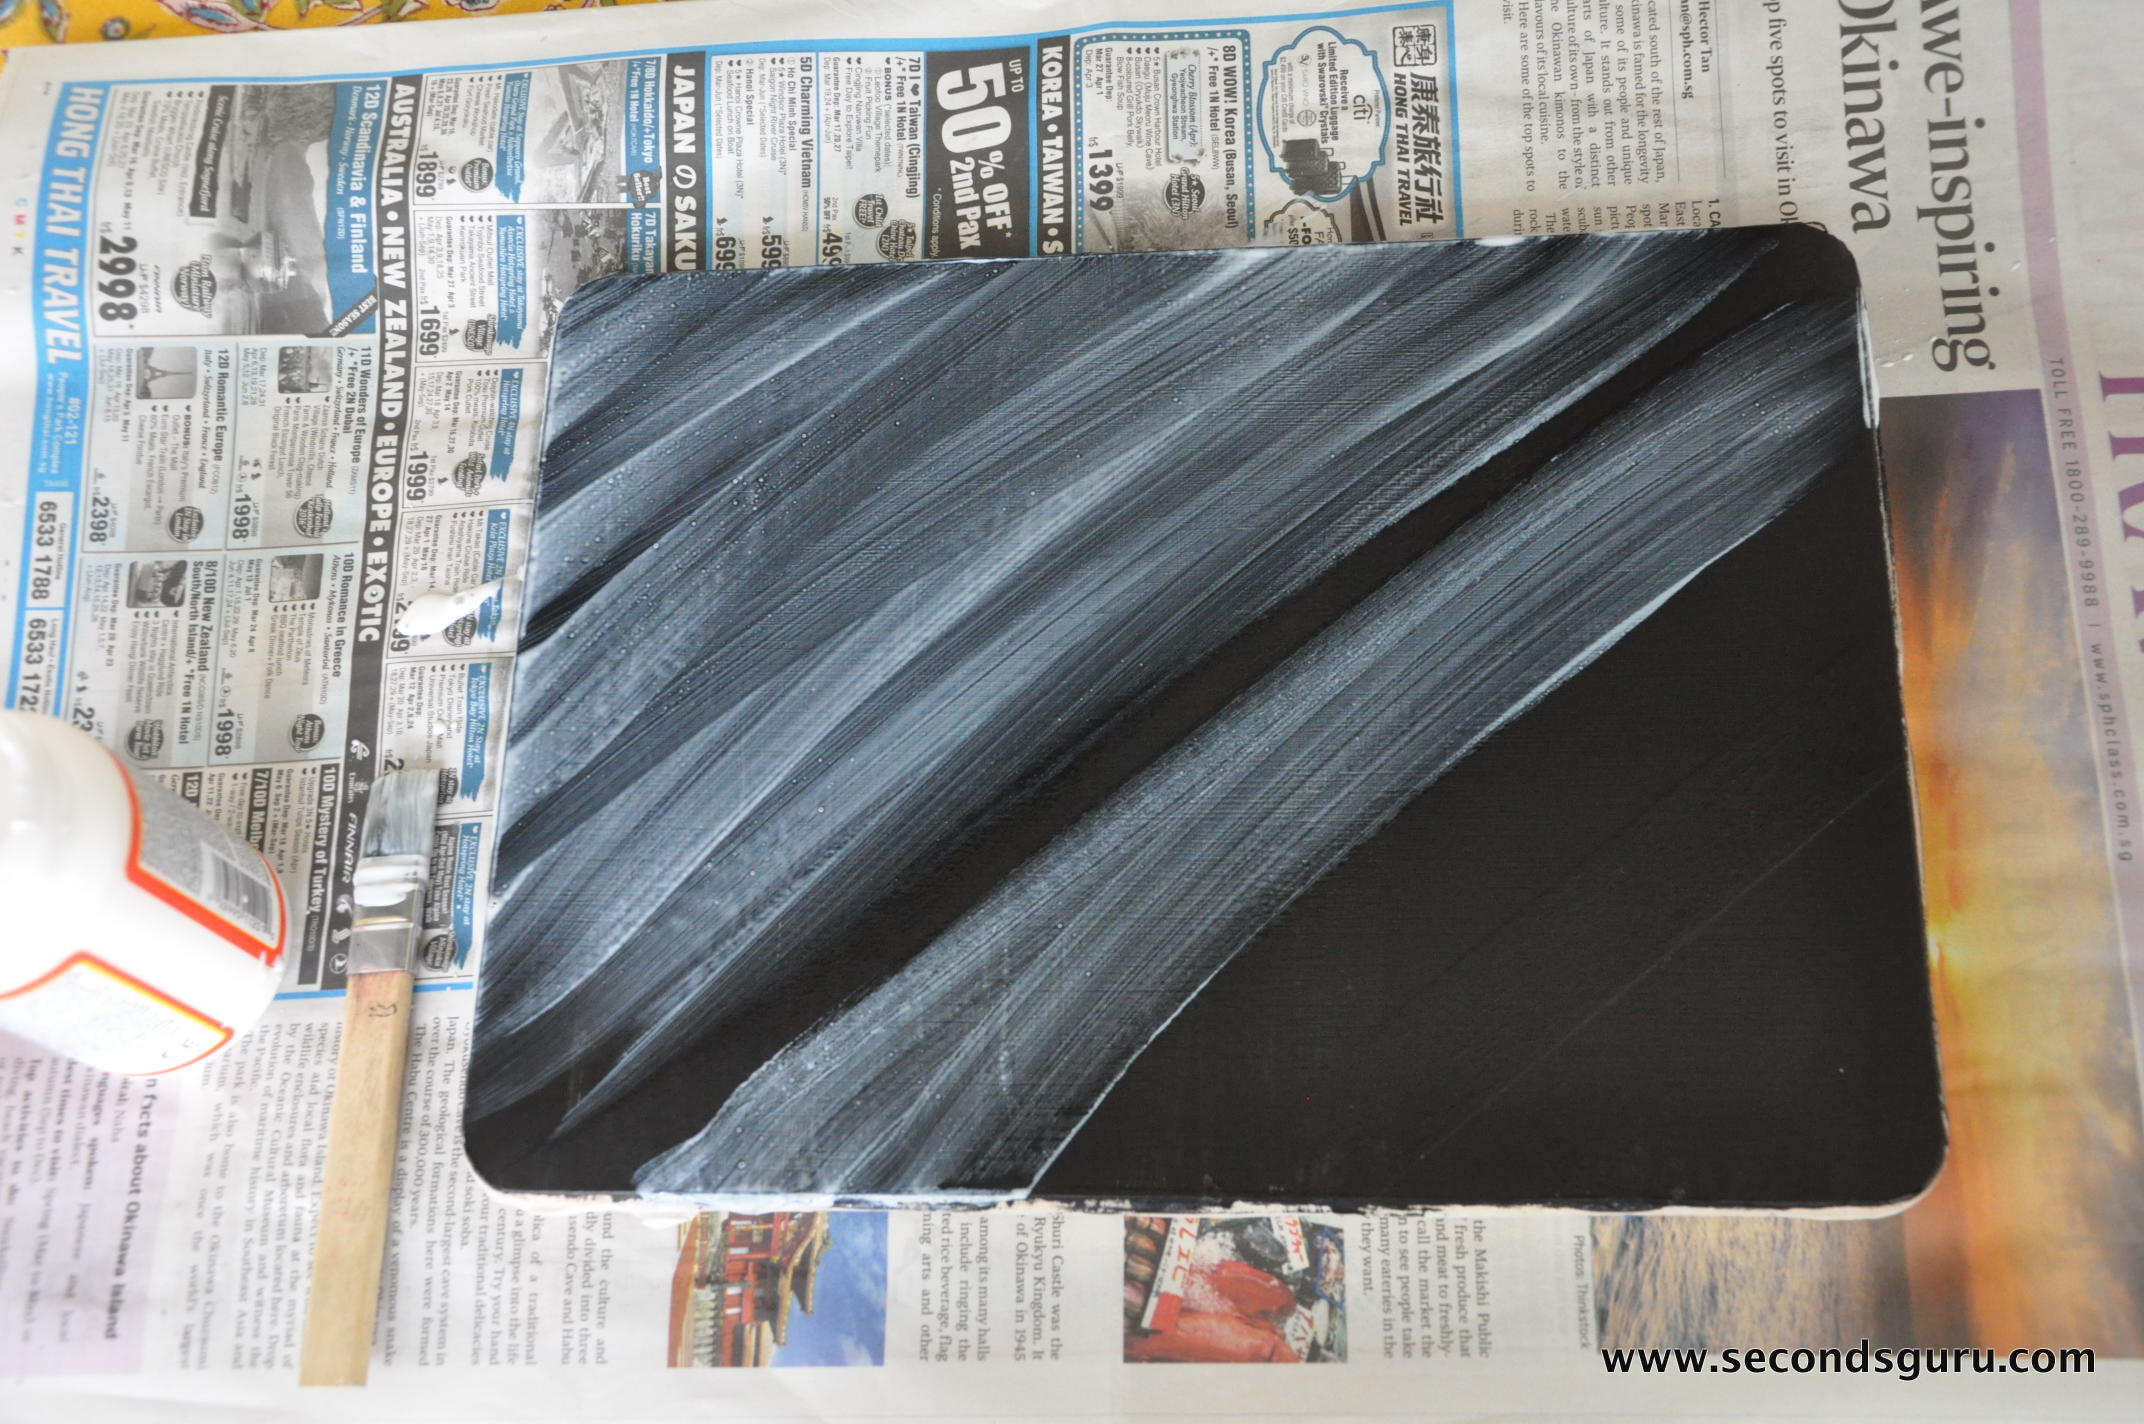
3. Apply a generous coat of Mod Podge on the board to give it a finished look. I used the gloss Mod Podge, but there is a matte version if that is your kind of look. Let it dry for 30 mins.
4. Finally, remove the masking tape. The tape I used was not exactly masking tape so I got a distressed look result. I love it all the same.
Key learning: Use masking tape if you want a real “block out” effect of your pattern on the serving platter.
These would also make wonderful christmas or Birthday gift ideas [Read:Other Eco friendly gift ideas] for your near and dear ones. Needless to add, please buy new wooden boards for that purpose!

Related Posts:
Upcycle Plastic Bags to Christmas tree decor
DIY revive your worn out Teak outdoor furniture


0 Comments