Published 23 July 2017 ● Last Updated on 30 September 2020
At our home, nothing gets thrown into the dustbin without the scrutiny of 3 questions:
- Is it still in good enough condition to donate?
- If it is damaged, can we fix it?
- If we can’t fix it – can we use it for arts and crafts, or upcycle it?
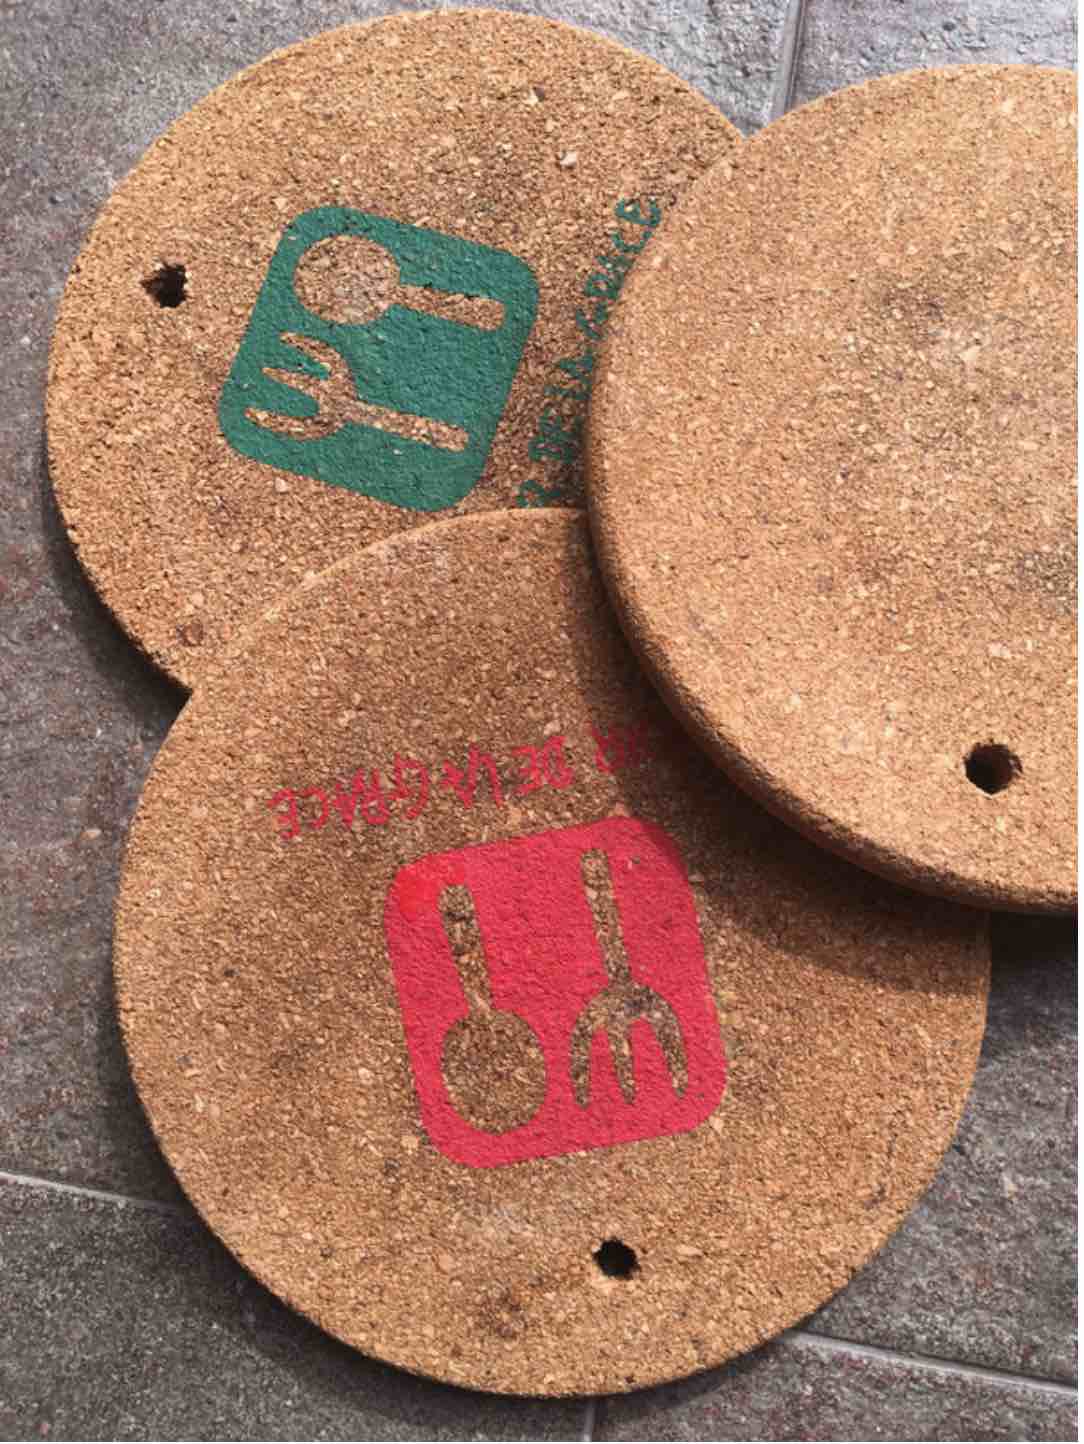
As you can imagine, the filter question number 3 means I have more cardboard boxes, egg cartons and general packaging than I care for – especially as my children are the gatekeepers on that topic! This is the reason why grubby cork coasters that I once purchased from Daiso kept getting used way past their pretty life. We hid them when guests appeared, but of course, functionally they were fine and so kept using them when it was just family at the dinner table.
Finally, their stained look got too much for me to bear, and with summer holidays going on, I had all the motivation to organise a kid-friendly craft activity. I shortlisted 3 ideas, and luckily, all turned out great enough to share.
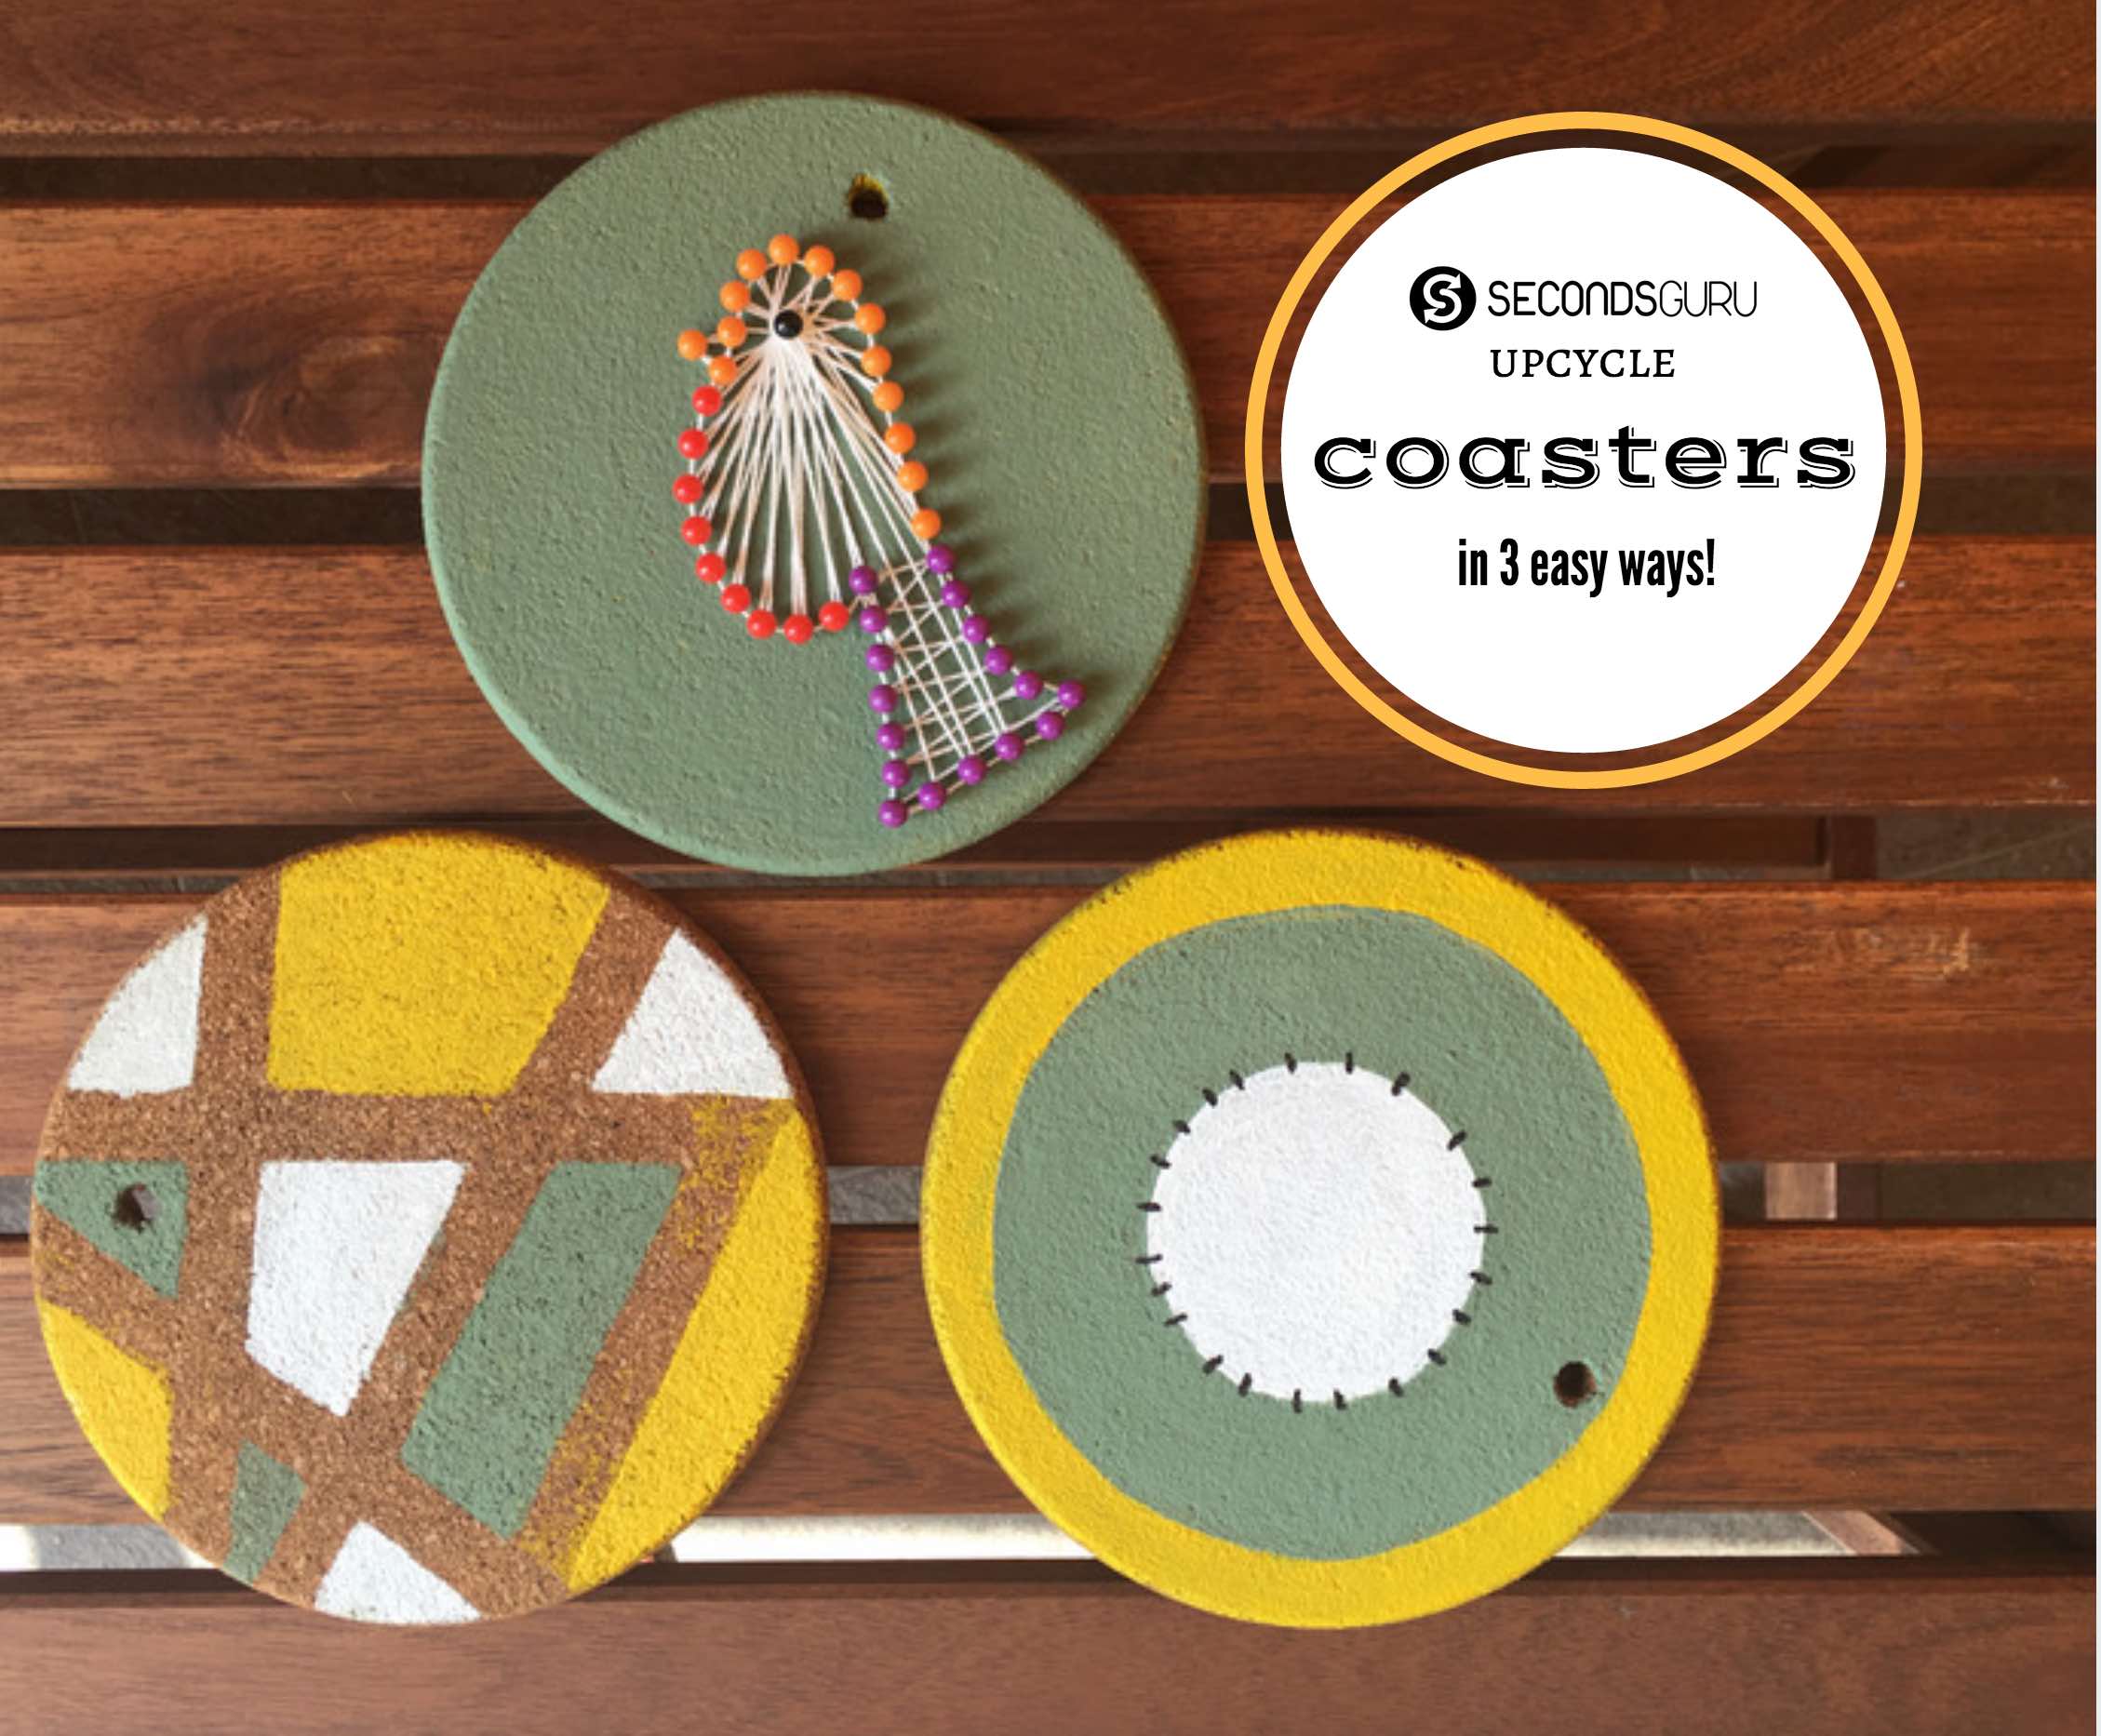
If you too have coasters that you’d like to jazz up, read on for the DIY instructions – but don’t forget to scrub and dry the cork boards before you begin!
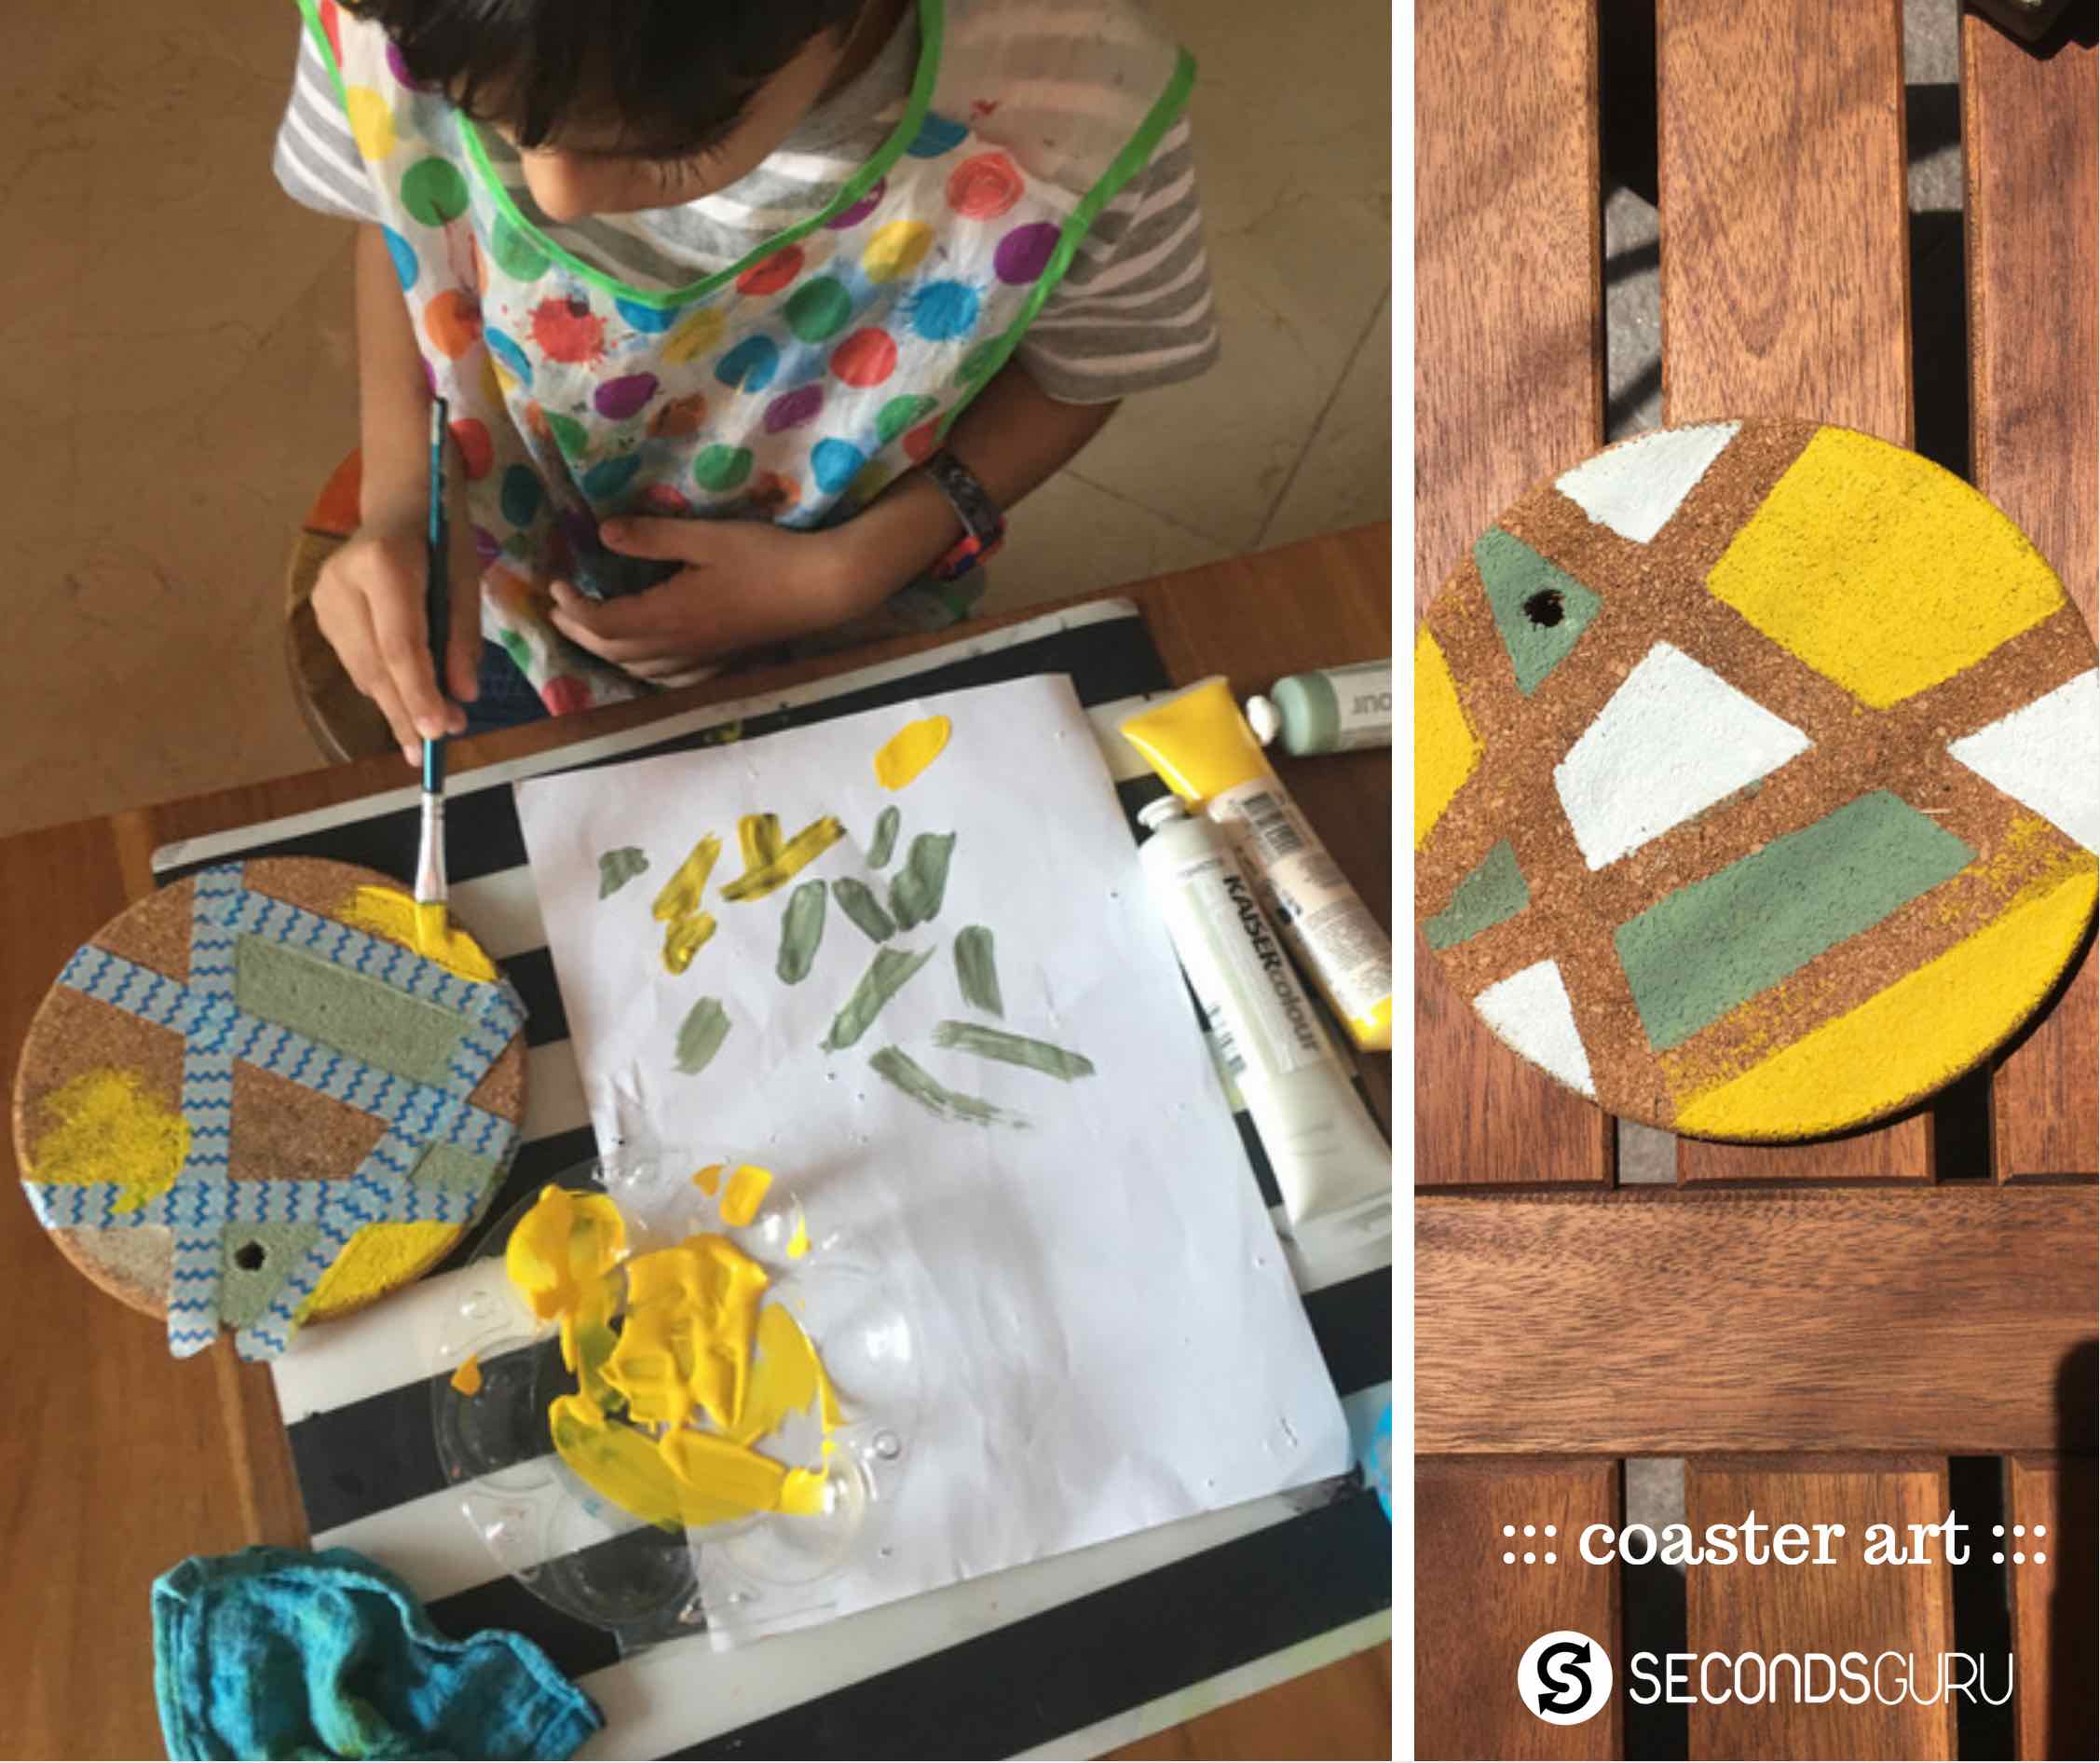
#1 Geometric designs
This is the easiest design to execute – even my pre-schooler son was able to work on this pattern and got a great sense of accomplishment! I let him to the first 2 coats, and added only finishing touches to neaten up the work.
 What you need:
• Masking tape
• Acrylic paints and brushes
Start by running the masking tape [or washi tape] across the cork board to create intersecting lines. Then use acrylic paint to full up different sections in different colours. I found that 2 – 3 coats were required to get bright and strong colours. Once all the paint is dry (do wait for it to dry completely – as colours will smudge!), simply peel off the masking tape – that’s it!
The masking tape is a great tool to help achieve clean lines, and you can use this pattern technique to reinvent cardboard boxes, wooden boards and even plain paper to create your own unique packaging!
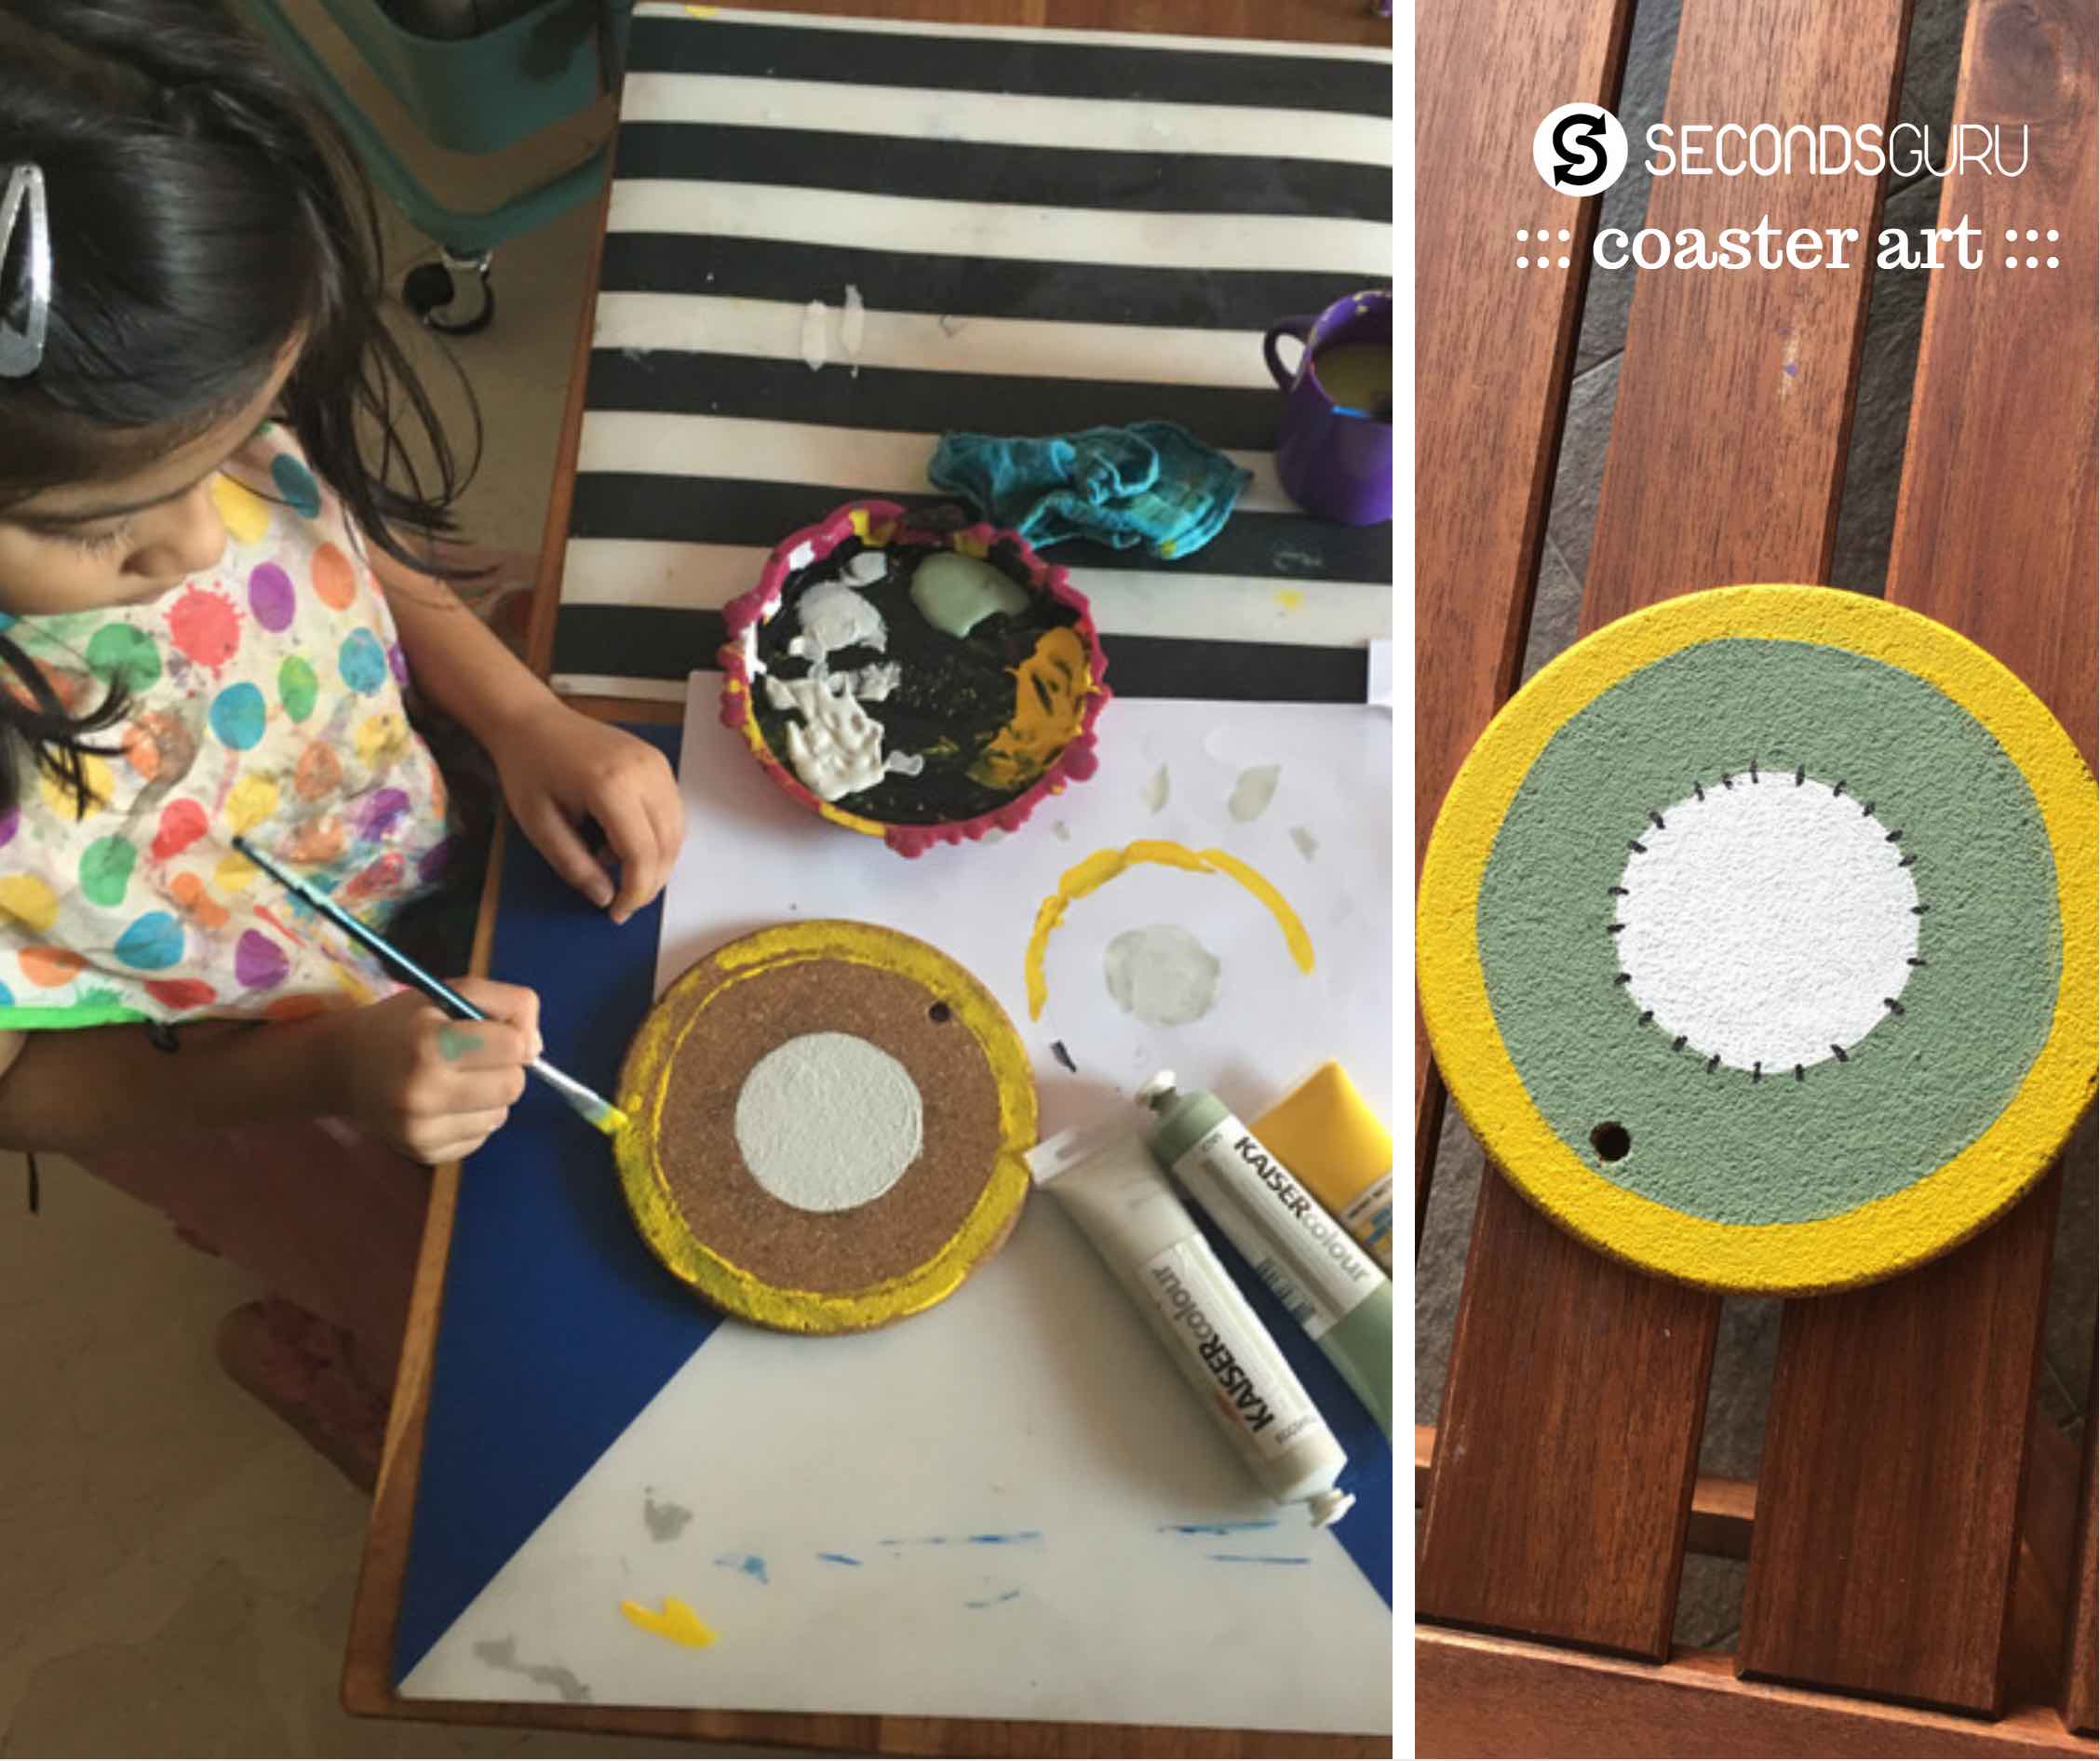
#2 Go Fruity
This design is fun and cheerful; ideal to execute if the crafter has a steady hand!
 What you need:
• Masking tape
• Acrylic paints and brushes
Start by choosing fruits you’d like to depict: watermelon, oranges, lime, (or as in our case – the Kiwifruit) all present interesting yet easy designs that you can recreate. Use an HB pencil to outline the graphic on to the coaster. Looking for inspiration? We got ours from this pin and perhaps you’ll find yours here too!
My pre-schooler daughter took over the work on this coaster, and I made her start by painting on the lightest colour first. This way, even if she messed up a little, the darker colour could cover up later. And anyway, as she progressed through the pattern (and moved to darker colours), her skill had improved and errors reduced. I helped her with the final coat and finishing touches only.
Again, keep in mind that you will need 2-3 coats of acrylic paint to get strong, bright colours. Let dry completely between coats to ensure there is no messiness in the final design.
My coaster was circular so our Kiwi design filled it up. But you can use even a square-cut board: centralise your fruit design on it, and fill up the blank space with a bright colour of your choice.
#3 Thread a picture
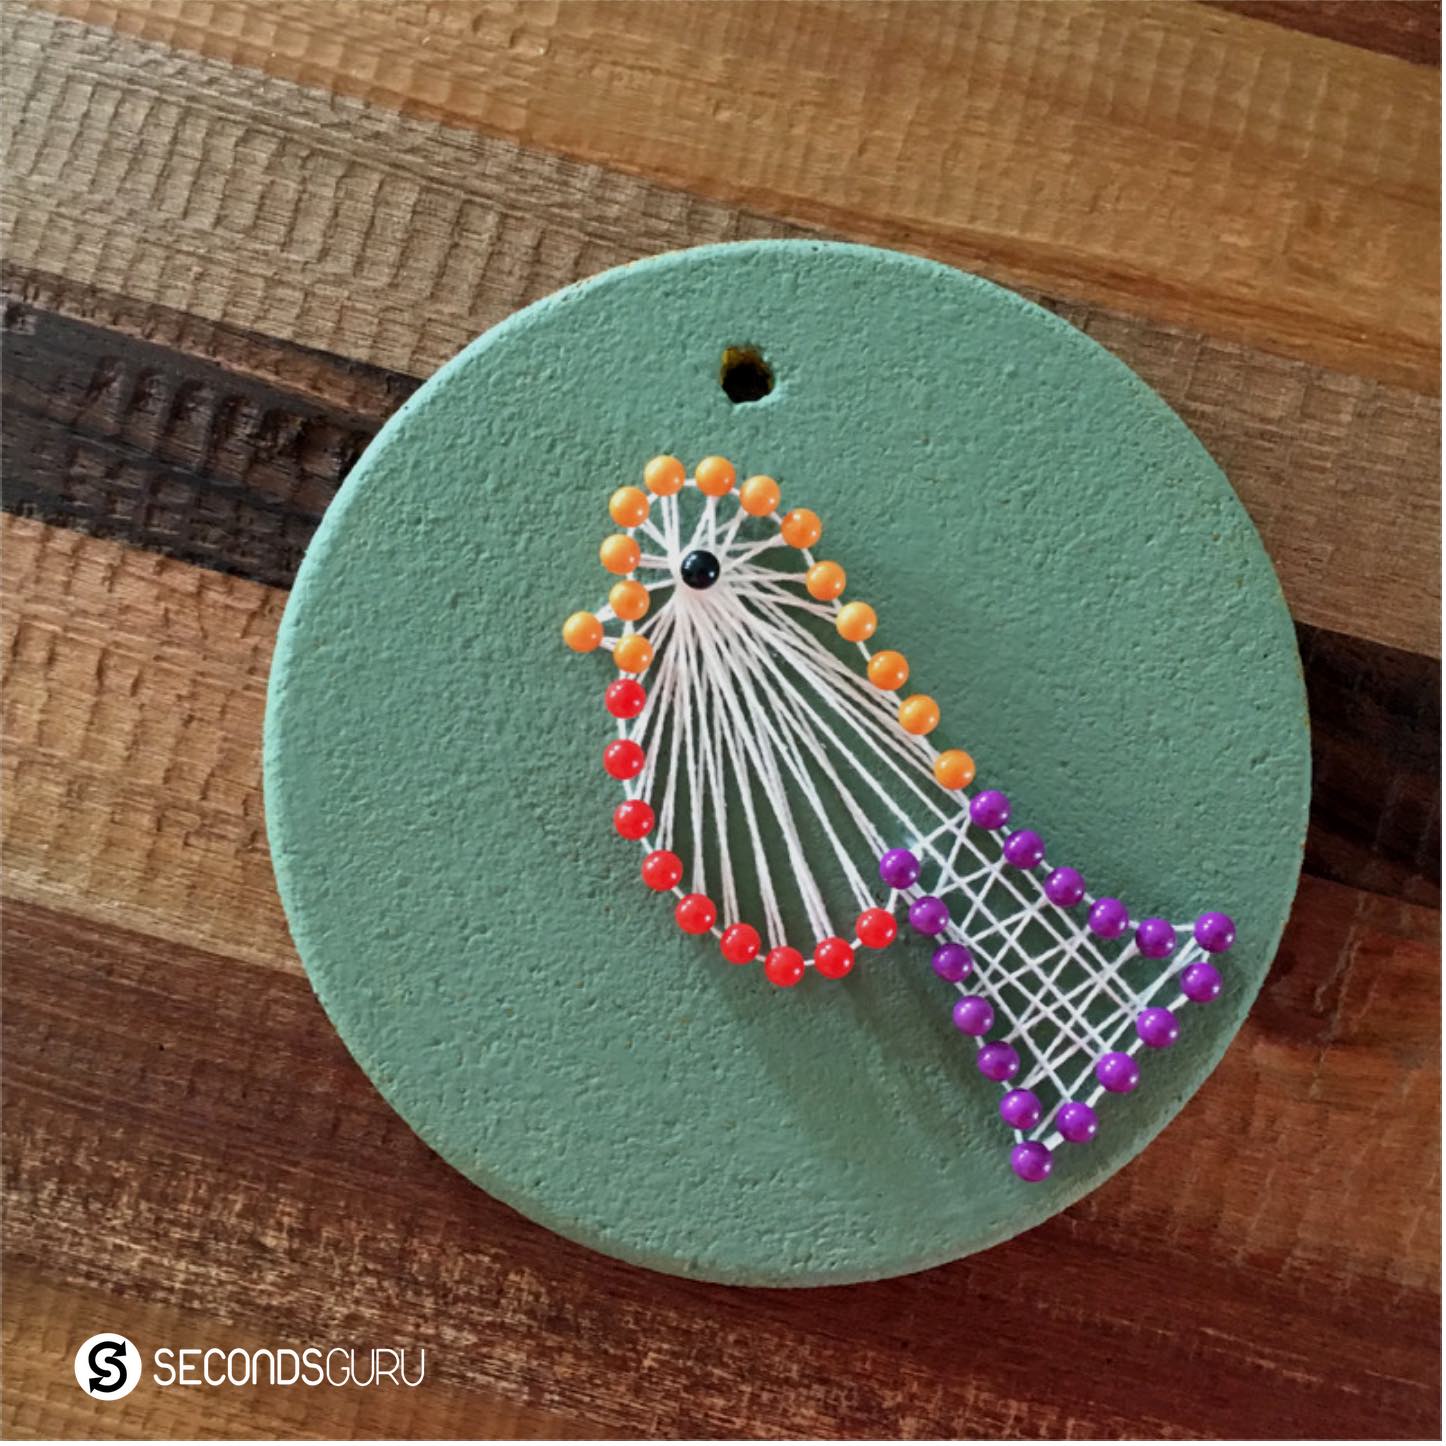 I had never tried thread art in the past, so this was really fun for me to try! It turns the coaster into a home decor piece – and allows for a lot of flexibility on how you achieve your end result. This design requires a little more dexterity, so best for older kids or younger kids who don’t mind assistance.
What you need:
• Yarn or thread
• Acrylic paints and brushes
• Paper and pencil to create a stencil
• Push pins (I was able to get only colour-headed push pins at the stationery shop – metal heads would be great too!)
To begin, paint the coaster with acrylic paint so the grubbiness doesn’t show through. Use a couple of coats to get a strong, clean texture. Keep in mind that the colour of your paint and the colour of the yarn you use must contrast strongly.
Think of a motif that you would like to thread out. Draw an outline image of it on paper, and cut it out – this is your stencil.
 Ensure that the stencil can easily fit within the coaster. Place it where you’d like it, and surround it with push pins all around. Make sure you don’t pin the stencil in – as you next need to pull the paper stencil out.
Now you are ready to start threading. Tie the yarn / thread on a centrally placed push-pin, and just start lopping around in a symmetrical pattern. For my bird, I put in a push pin at the eye-point, and this became the center point around which my thread weave rotated. I did not have any guide to follow; I just followed my intuition and aesthetic sensibility to move the thread within the bird figure. Mistakes aren’t hard to fix – you can simply rewind your looping pattern.
After I completed the pattern, I created a firm, strong knot on a side pin and cut off the yarn neatly, as close to the knot as I could.
Not a bad return at all, from something that was looking as grubby as this a day before:
Do drop me a note below if you try these ideas out. Or is there something else you’ve tried when upcycling cork boards? Would love to hear your experience!
Related posts:

0 Comments