Published 24 October 2017 ● Last Updated on 11 August 2020
A super girl hero, finally
Wonder Woman has been the superhero my little 4-year-old needed in her life. Finally, there was a girl superhero who could kick butt and do it well. She has of course not seen the movie ( too violent for a 4-year-old ) but she has seen the trailers, cut-outs and umpteen advertisements- all of it was enough to make her feel empowered.
No time to waste!
In early October, I was sent a note home in my daughter’s school bag, with information on the upcoming ‘Spirit Day’ at school. On this day, the children get to come to school dressed up as someone who inspires them. As luck would have it, I had missed reading the memo! When realisation finally dawned upon me, I had all of 2 days to think up a costume. There was no doubt as to who my daughter wanted to dress as … so off I went to Spotlight [Plaza Singapura] to buy the said costume. Well, guess my luck … the store had no Wonder Woman costumes or accessories! Nada. Now, it was one day to d-day. I did not panic [To be honest I did, and it was bad. The store staff had to offer me water and a spot to sit down]. Not one to give up, I opened up the always- there- to – the -rescue- of -mothers ‘God sent’ application, Pinterest, on my phone. And there it was, an easy DIY idea to create your own Wonder Woman costume. I needed a few things to complete the DIY. Luckily I was, Spotlight, in the best place one can be to get all crafty in Singapore. I picked thick card paper in gold and sparkly red and a golden rope from Daiso next door. I was set.
The magical transformation
Accessories :
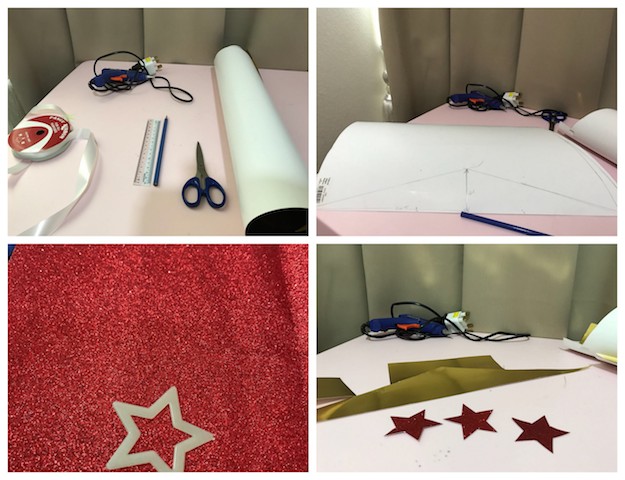
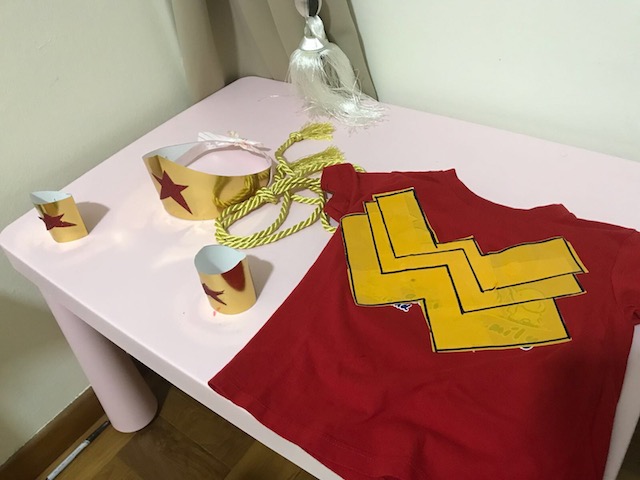
Outfit :
Now for the clothes, Wonder Woman followed the red and blue theme as with most of the American superheroes. I got lucky here, my daughter had an old blue denim skirt and a red t-shirt. The t-shirt, however, had a big picture printed across the chest. That’s where the yellow tape I had bought ages back, in case I would someday need it, came handy. I pasted the tape across the chest in a ‘W’ shape. I repeated this three times over, overlapping each time. The picture was well covered now. Finally, I outlined the ‘W’ with a black sharpie … and we were done.

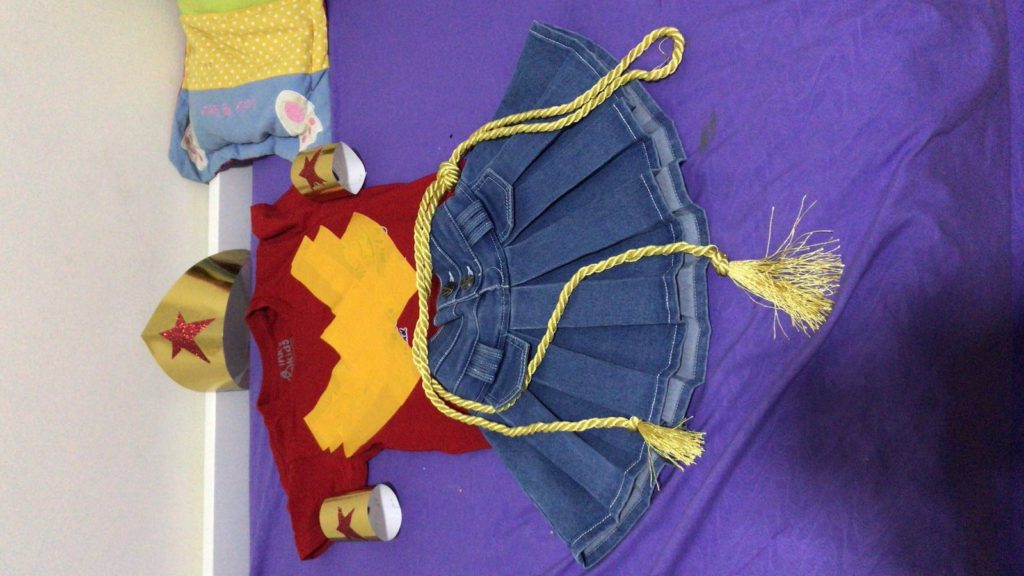
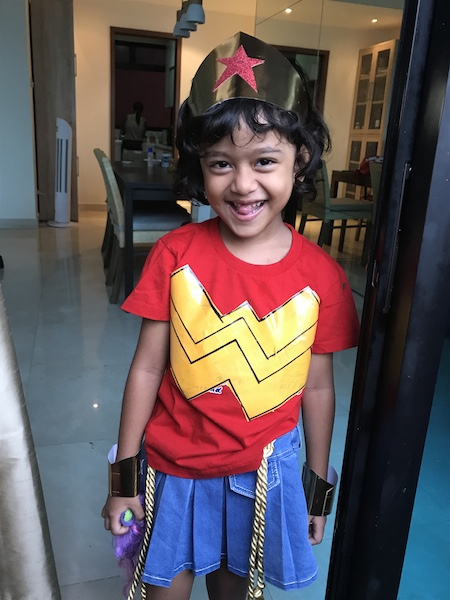


0 Comments